September 4, 2012
(Carryover Day 4)
"The difficulty of this climb is largely determined by recent weather-influenced route conditions; ice will make the climbing much more difficult."
 Gam, Teton Rock Climbs
Agreed!

Visit on googleusercontent.com
Final carryover day to get back to our camp at the Lower Saddle

Visit on googleusercontent.com
Grand Teton North Ridge, in its exposed position high on the Grand Teton
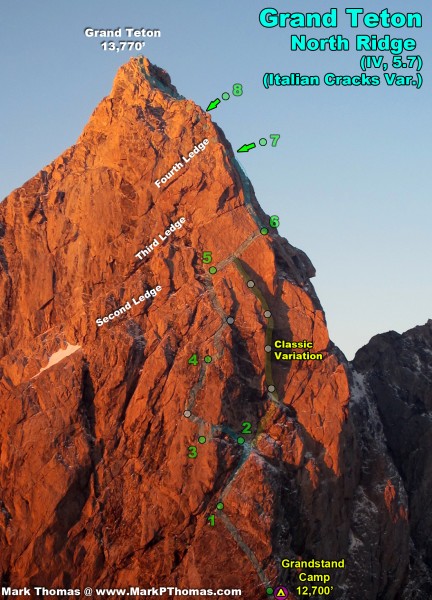
"Even though pioneered over 60 years ago, the North Ridge of the Grand Teton remains today one of the great classic mountaineering routes in the range, a tribute to the vision and skill of the first -ascent party. At the time of its first ascent, this route was perhaps the most difficult climb in the country. This route, which averages over 63° for 1,200 feet, is better described as the intersection of two high-angle faces than as a ridge;
Even the climb up to the top of the Grandstand is not trivial. " - Ortenburger & Jackson, A Climber's Guide to the Tetons
Even the climb up to the top of the Grandstand is not trivial. " - Ortenburger & Jackson, A Climber's Guide to the Tetons
Inspiring quotes like this one are what have kindled my interest and fascination of climbing the impressive and historic routes of the North Face and North Ridge of the Grand Teton. After gaining the Grandstand the day prior, and looking down the other possible approaches to it, I'd have to say that one thing that really sets the North Ridge apart is its isolation. One must work quite hard just to get to the start of this great route, and from there one is quite committed to finishing it.
Visit on ggpht.com
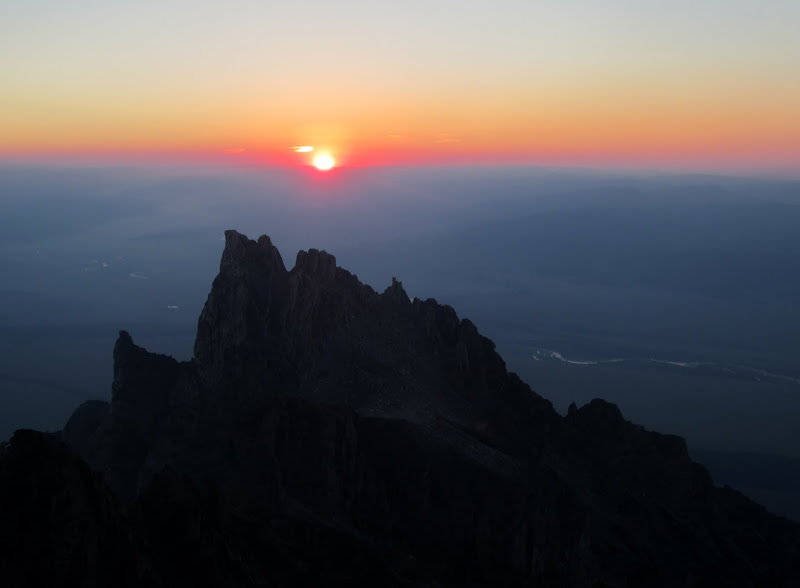
Sunrise over Mt Teewinot.
Another early day in the Tetons. Somehow even though we were camped a couple hundred feet lower at the Grandstand than the night prior on Mt. Owen, the last night felts significantly colder. Leaving our tent, we also noticed that it seemed significantly windier too. It was time to get moving!
Visit on ggpht.com
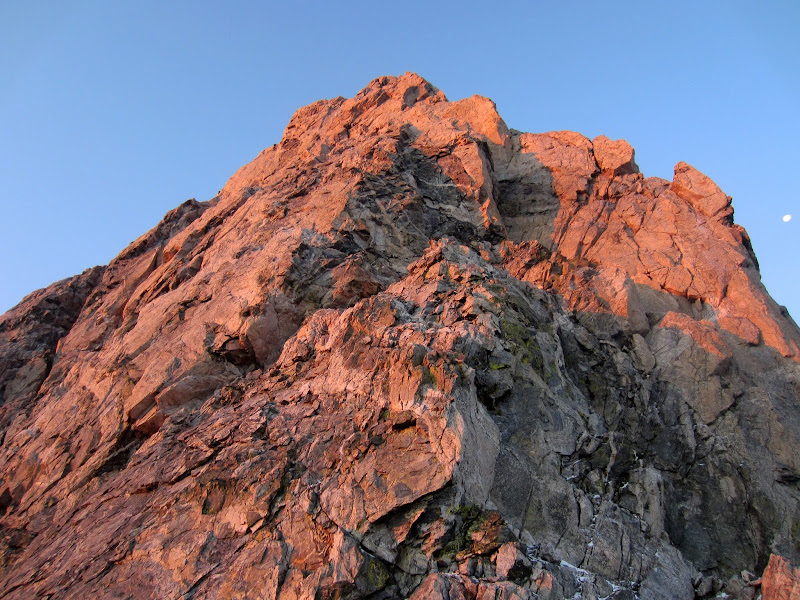
Sunrise on the North Ridge, seen from camp.
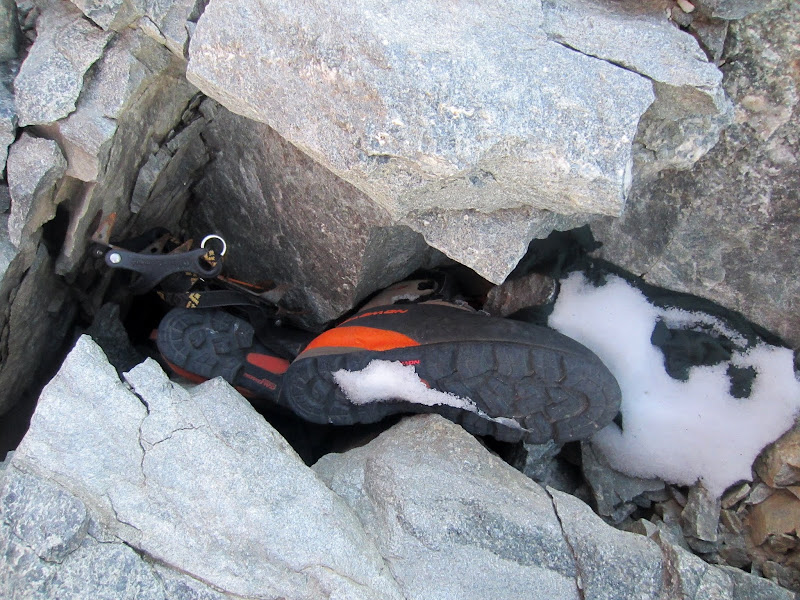
I scoped out the 100' approach from our tent to the start of the route the day prior to make sure we took the best line there in the morning (thus far we've had a habit of starting out off route). We walked along the knife edge to a notch to rope up. Oddly there was a cache here of crampons and climbing boots . . .
Visit on ggpht.com
Help! I've fallen and I can't get up!
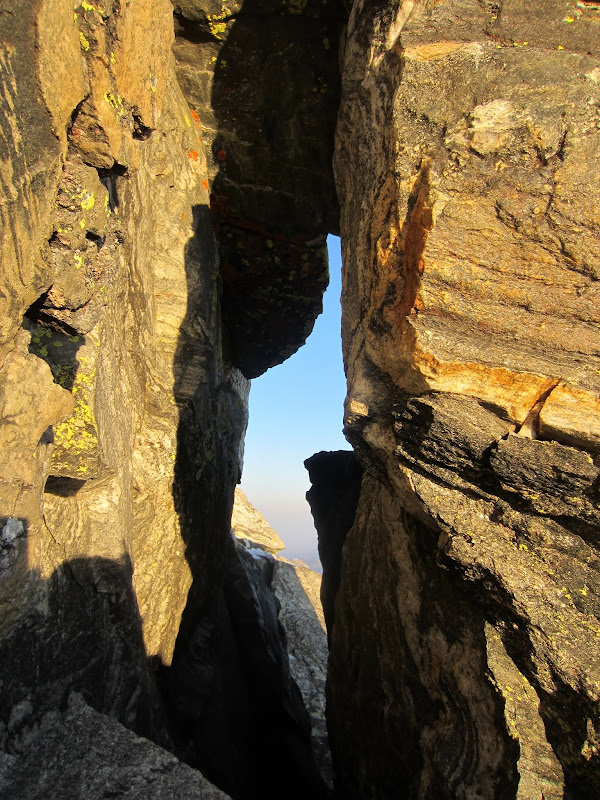
Looking at the topo, pitch 1 had a flake that one must tunnel behind. It is very hard to pick out the flake directly as it blends into the wall, but the day before we figured we had it identified. Since I was worried about tunneling through with a large pack on, I tried a more direct, but probably more difficult line, that avoided the tunnel through. It was more like 5.6-5.7 rather than class 4. I climbed the short face section in the howling wind, then stopped beside the flake to get some feeling back into my hands. Looking to my right it appeared that the tunnel through is plenty large to go through with a pack. Oh well! At least my variation probably saved me a lot of rope drag.
Visit on ggpht.com
Detached flake on P1 that I should have tunneled through. I wasn't sure if I would fit with my carryover pack, so I took a harder, direct line to bypass this, but it was pretty wide.
After a bit of moaning as the pain ebbed from my hands, I had gotten enough dexterity back to attack the next short headwall. I raced up before my hands could get too numb again. More 5.7 face climbing with a piton to start. After this the terrain eases and I could climb in gloves again. I went beyond the standard belay and halfway through the next pitch before stopping at a belay around the corner.
Visit on ggpht.com
Leading past the detached flake on P1. Note the wind blowing the yellow rope. Despite the sunshine we were very cold! (by Steph Abegg)
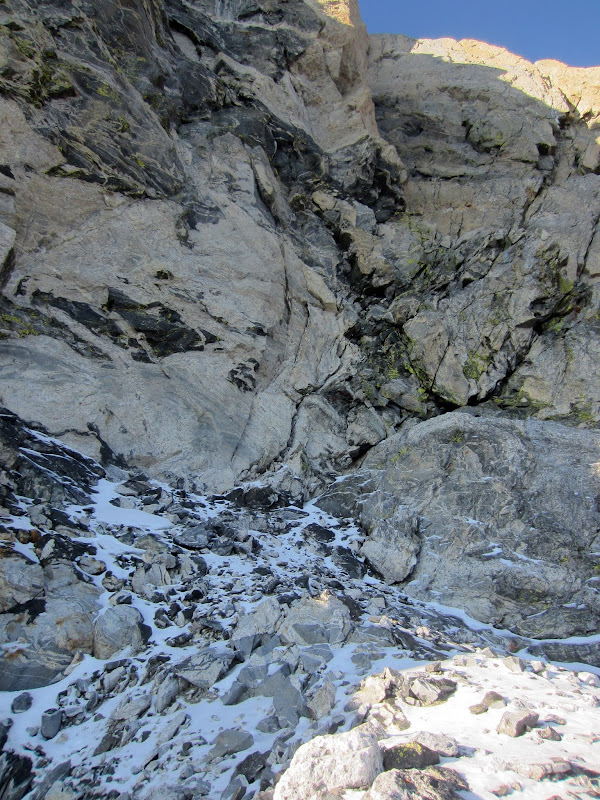
Unfortunately, although the route looked dry from the notch, as I reached the "easier" terrain, I found most of it covered in snow!The easier terrain was much more slabby and shattered with few pro opportunities, so I had to go for a ways before I found a suitable anchor. I could tell this section and the next pitch would be trivial in normal conditions, but the cold and the surprising amount of snow cover made it much trickier and I moved as slowly here as on harder pitches.
Visit on ggpht.com
P2 easy pitch gets less easy. The 5.8 P3 ascends the dark rock ahead.
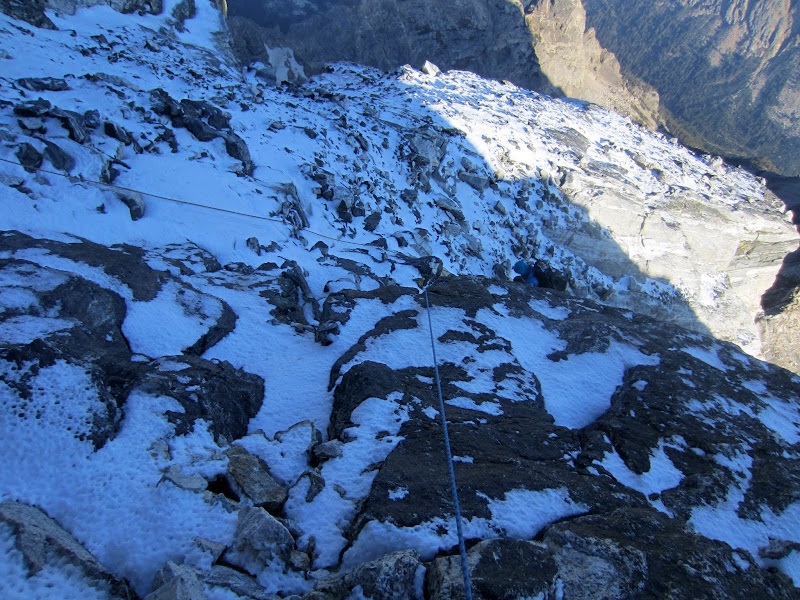
I continued up P2, feeling more wary about what conditions would be like ahead. As I crested the chute into the alcove beneath the 5.8 pitch, I found most of the terrain covered in snow. As I climbed the last 20 ft up to the rock wall to make an anchor, the snow became more consolidated into ice. I couldn't even kick steps in it, and instead had to smear carefully and try to find little indentations and rocks sticking out to make it to the end. Not good!
Visit on ggpht.com
Steph following the "easy" P2. Snow in the last bit of height had solidified into ice, making the climbing extra tricky. Did I mention I was in my climbing shoes? At least I was wearing socks!
Visit on ggpht.com
Steph following up the "easy" P2. One tricky thing here is that the loose rocks still moved, and sometimes you were stepping on slippery slabs. (by Steph Abegg)
"In bad or even slightly bad weather, this [Chockstone] pitch and the two above are serious endeavors indeed. The North Ridge is not a climb to be undertaken in bad conditions."
 Ortenburger & Jackson, A Climber's Guide to the Tetons
"This slab [P6] can be severely iced; conditions should be considered before attempting this route."
 Gam, Teton Rock Climbs
It was interesting to consider that two different guidebooks clearly spelled out that this route should not be climbed in icy conditions. Neither guidebook made similar warnings about other routes. Naturally this left me apprehensive about climbing on. Specifically, the pitch after the chimneys is a 5.7 friction slab that apparently ices up.
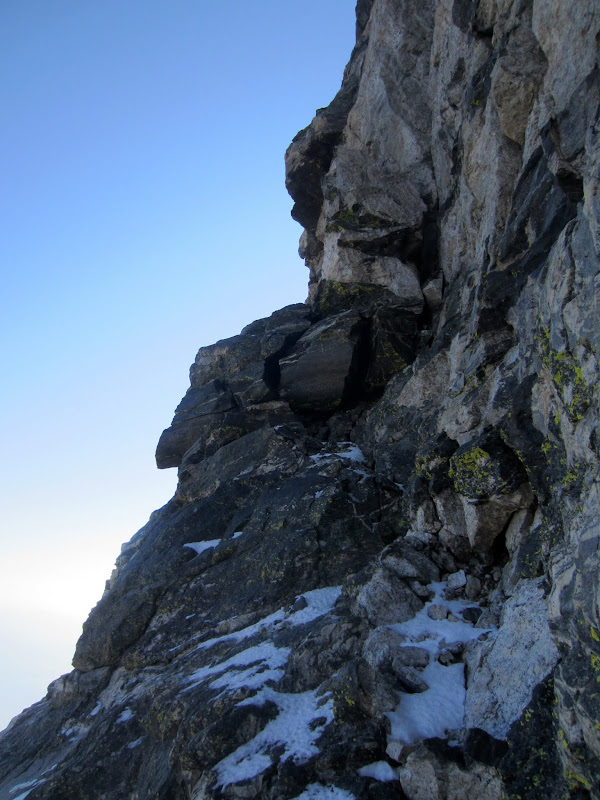
I belayed Steph up and told her my concerns. However, I happened to have brought along a topo and beta for the Italian Cracks Variation. It avoided the chimneys and slab pitch, so I thought maybe it would be doable in these conditions. Also, it was on the sunny and leeward side of the crest, so it would be much more bearable to climb. Steph agreed that this would be a good way to go.
I also voiced my wondering about us bailing, but Steph pointed out that considering how remote the top of the Grandstand is, the serious nature of reversing from the Grandstand might scarcely be less sketchy than pressing on. Plus then we would have to hike back up Garnet Canyon to retrieve our camp. Up and over the Grand would probably be the easiest and least sketchy way to go from here. We agreed to dismiss this option so long as it was reasonable to tentatively climb higher into the next pitches.
Visit on ggpht.com
P3 escape to the Italian Cracks variation.
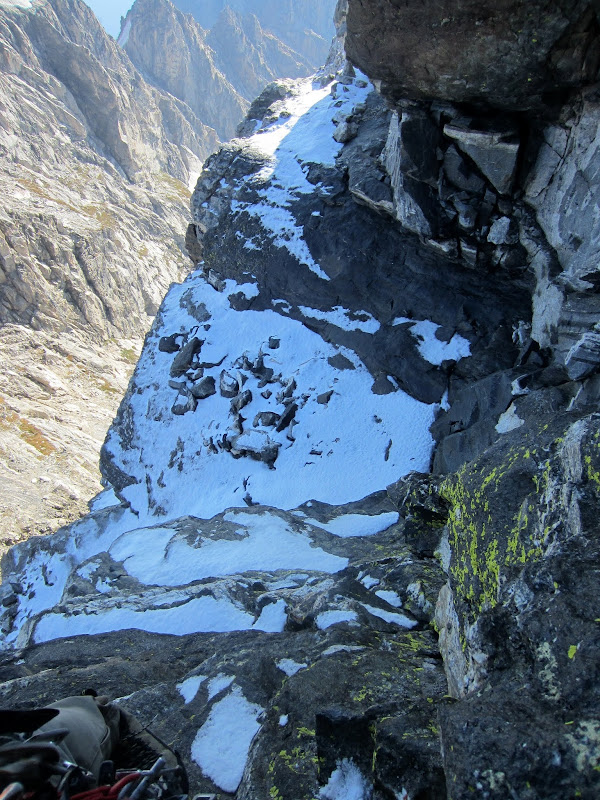
I carefully climbed the icy slabs left on a wide ledge and over the top to a low 5th class jam crack, taking care to place more pro here to protect Steph on the downclimb.
Visit on ggpht.com
A steep downclimb on the P3 escape to the Italian Cracks variation, which was around the corner in sunlight, somewhat shielded by the fierce winds.
I continued traversing around the corner into sunlight and cleared a dry patch out of the now on the now sunny ledge at the base of the first real pitch of the Italian Cracks. I belayed Steph over and we took a bit of time in this more comfortable spot to eat and warm up.
Visit on ggpht.com
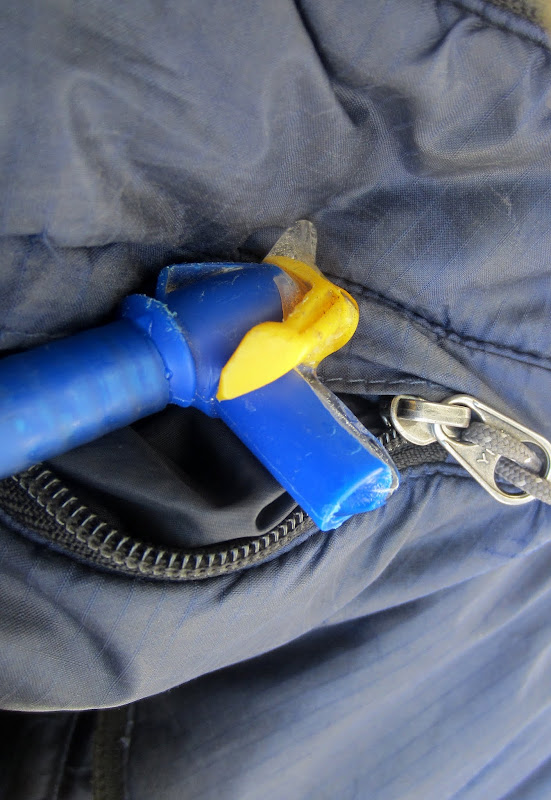
Should camelback nozzles be freezing on a rock climb?
Visit on ggpht.com
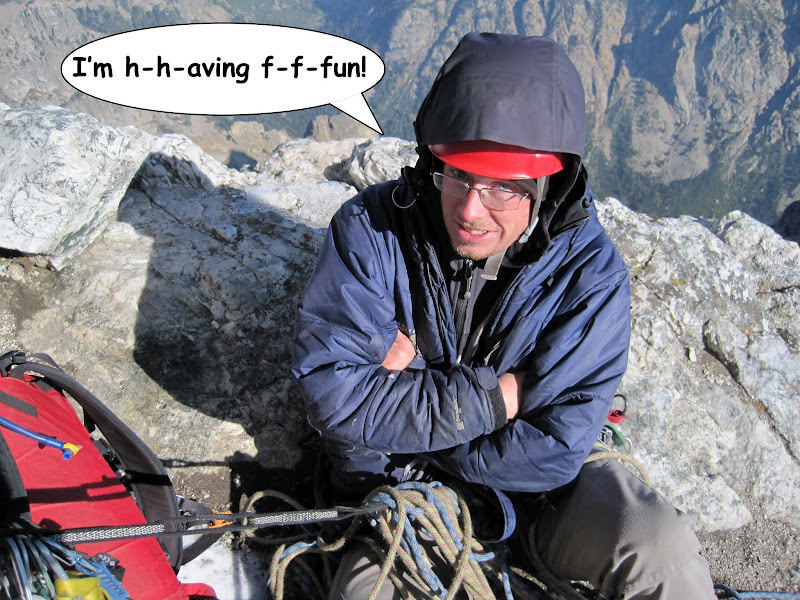
Cold at P4 start (by Steph Abegg)
Visit on ggpht.com
Cold at P4 start (by Steph Abegg)
Visit on ggpht.com
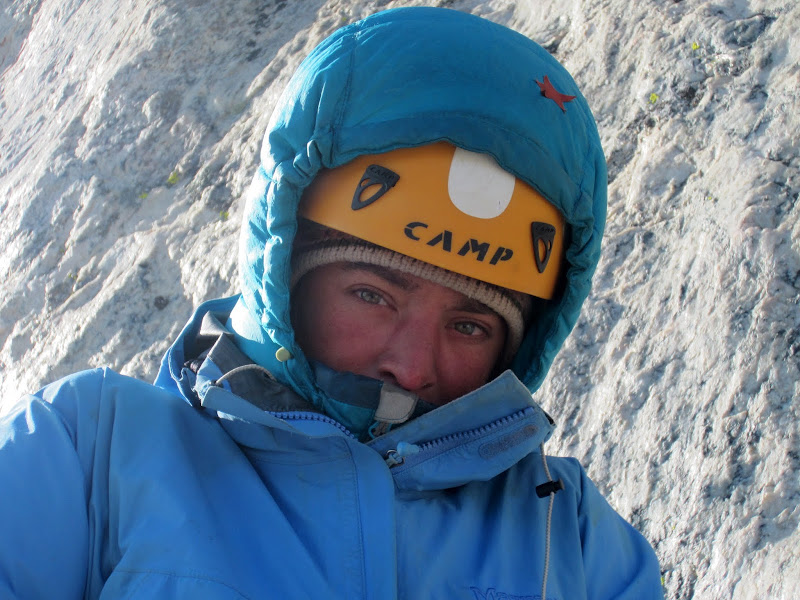
Steph getting warm at the P4 belay.
Above us, the next pitch was a wide 5.6 crack. One could continue straight up a 5.8 finger crack, or if you were just wanting to get up this thing like we were at the moment, you can traverse left on a ledge to a 5.6 corner that ends in a 5.7 roof.
Visit on ggpht.com
P4, wide 5.6 section. (by Steph Abegg)
Visit on ggpht.com
Leading the wide crack (5.6) of P4 on the Italian Cracks variation. (by Steph Abegg)
I led through this section quickly. I was still very cold, but my hand numbness seemed more manageable now that I was on sunny, dry rock and mostly shielded from the wind. Still, I was feeling pretty tired, so at the base of the next corner I stopped short to make an early belay. We might as well save our strength on this.
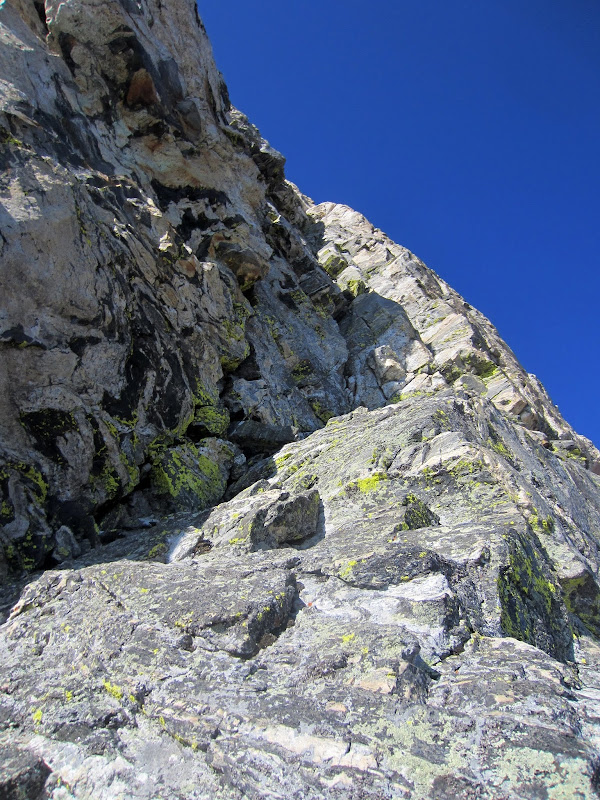
Visit on ggpht.com
I stopped short for a rest and belay in the sunshine. Then continued up this very steep corner to finish P4 (our P5). (5.7 roof to finish).
This next pitch was very sustained at 5.5-5.6 with lots of quality stemming. There was a roof at the end, but it didn't feel that much harder to me than the rest of the pitch. I'd call it all 5.6+ to 5.7ish. According to the route info I had, I stopped and belayed just after in a little alcove, just beneath a larger cavern.
The MountainProject description said you could reach the Second Ledge in one long pitch of 5.7 face climbing from here (described as having intermittent cracks for pro), while the Ortenburger topo showed 2 pitches of face climbing, heading out right from the crack and then angling back left and heading straight up to the Second Ledge. So from the alcove I started climbing out right.
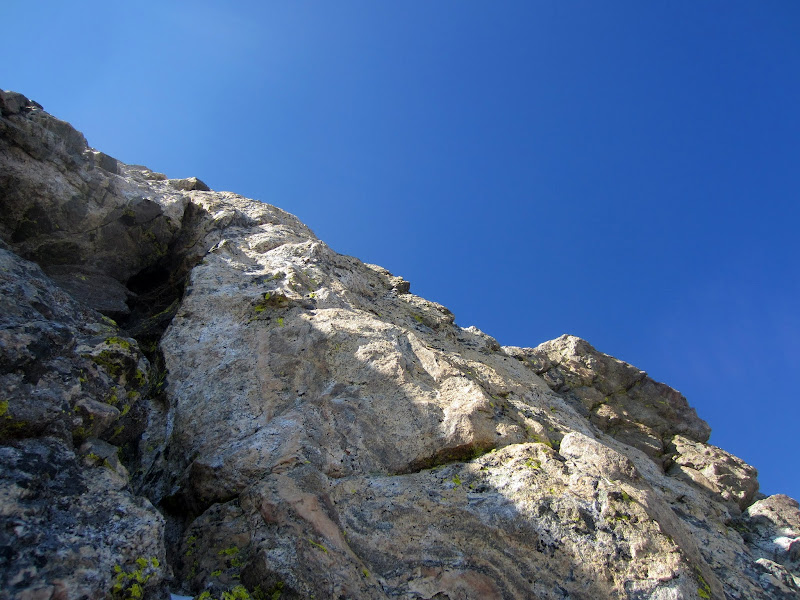
Visit on ggpht.com
P5 belay (our P6), looking at the 5.7 face climbing crux. This had ice on it, and the intermittent cracks were pretty far apart. I traversed a lot to the right with ledge fall consequences looking for cracks for pro that were clear of ice.
There was a small ledge about 10-15' beneath me, and all of the 'intermittent' cracks I traversed too turned out to be grooves. I was on thin, knobby terrain with no pro in sight! Time to relax and watch my balance with my pack. I could see the easiest way through was to head straight up, and there were some cracks there for the first piece of pro, about 20-25' off the belay. However, the cracks were choked with ice now, and the best edges for crimping and edging had eyebrows of ice on them.
Uhh . . .
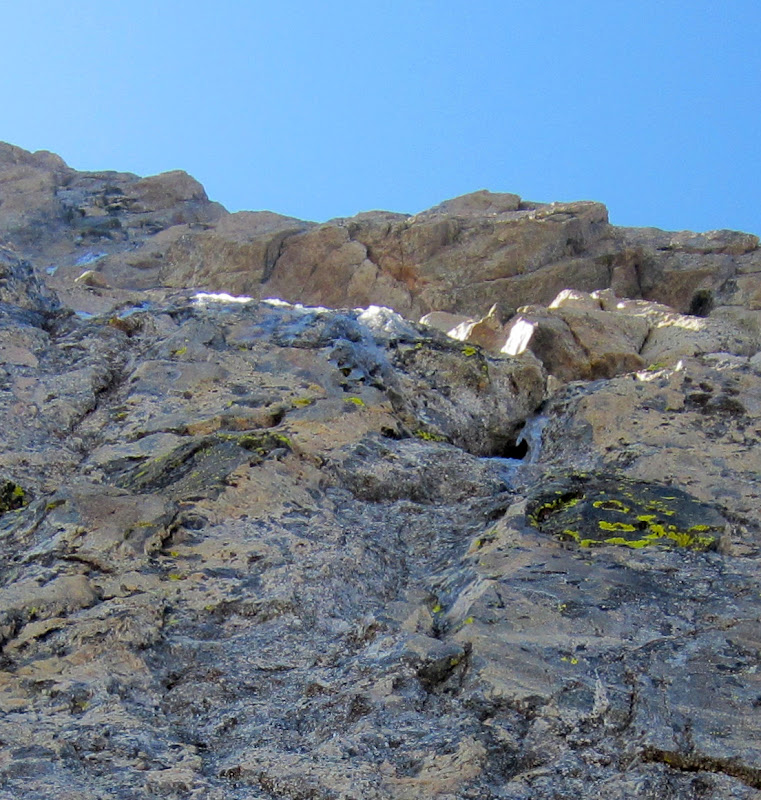
Visit on ggpht.com
P5 icy face climbing (our P6). Where I could, I was ripping chunks off to clear handholds and footholds. Overall I adjusted my route to avoid the ice, making me go far off route to the right.
I traversed even farther to the right where I could get in a piece, then climbed up. Eventually the terrain forced me back to the main iced up bottleneck, but at least I was closer to pro, and I could climb into it better from the side than below. All of the best holds had ice on them, so I started grabbing some of the eyebrows of ice and began ripping them off the rock wall. I could get enough off to make a slightly better path through the crux, and as the terrain eased up and more of the rock had ice on it, went all out, ripping ice clear from holds and tossing it behind me to make a path up the face. When I later told Steph about doing this, she said she was getting pelted with ice, but thought it was from pieces naturally detaching from the face as the rock heated up. My bad!
Finally I started making headway until I reached a long, leaning wide crack. Here the rock steepened became even icier. I was running low on small gear and the crack was too wide for anything else. So I detoured again, climbing along the crack far to the right, and around a corner to a sloping ledge. Since there as a fixed anchor in this slab, I thought it was the slab pitch atop the Classic variation (it later turned out to be the next corner over). I had renewed appreciation for the line we had been taking as I was back in the shade and wind again and it sucked! I belayed Steph in and by the time she arrived I was starting to shiver uncontrollably.
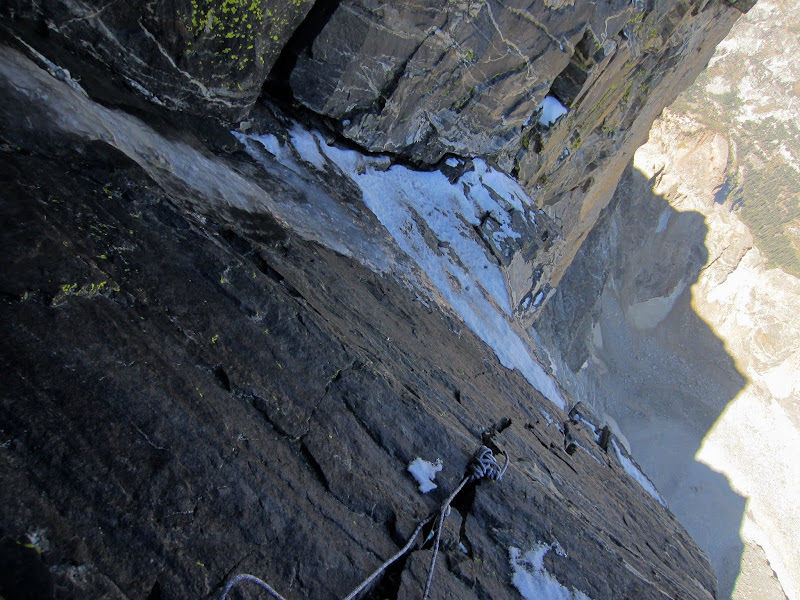
Visit on ggpht.com
Belay at rapp anchor above an icy slab. This was indicative that it was good to have not done the classic variation, as the Slab Pitch on that surely would have been iced over.
Visit on ggpht.com
Icy cracks make it harder to find pro. (by Steph Abegg)
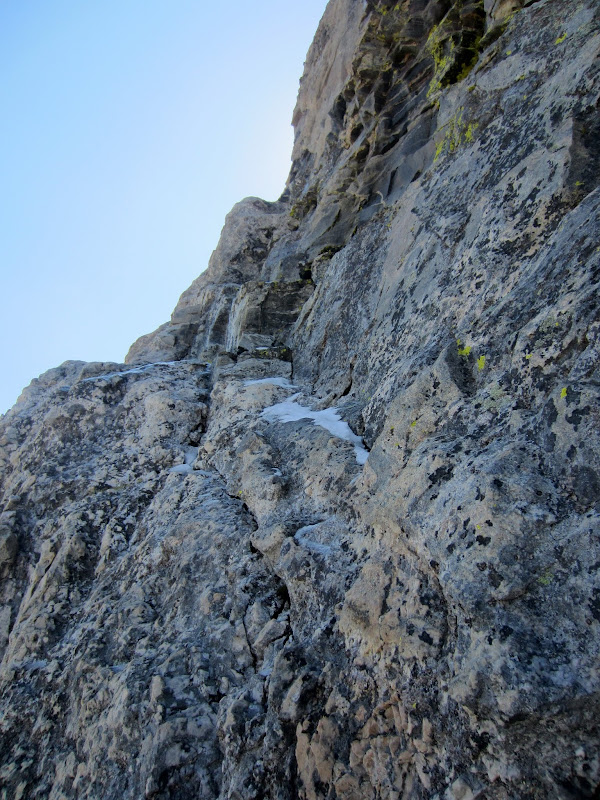
Visit on ggpht.com
Our P7 heading above the icy slab.
I started off, moving quickly to bring Steph up ASAP to get her out of the cold and wind. Apart from a few more spots made tricky with ice, the pitch was pretty straightforward and soon I was onto snow-covered talus and slabs on a lower section of the Second Ledge.
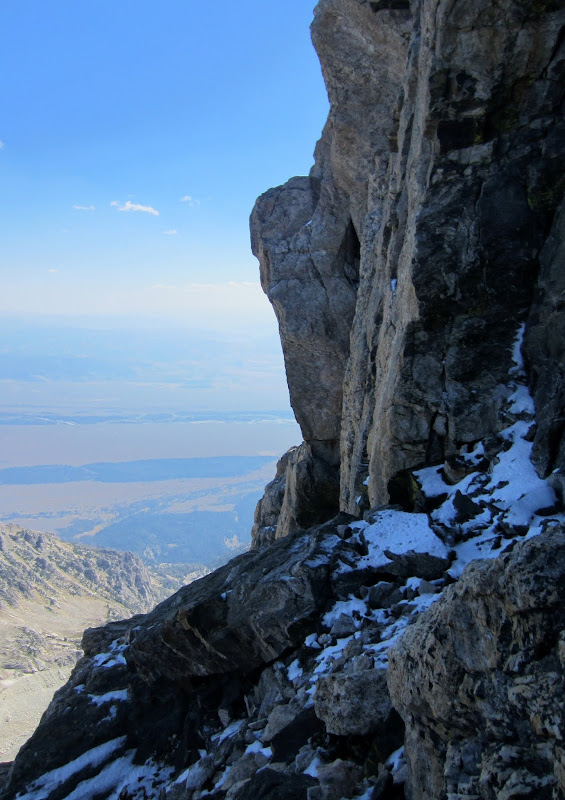
Visit on ggpht.com
Snowy Second Ledge.
I continued through this and switchbacked up to where the ledge became more slabby and snow-free for a more convenient recovery point.
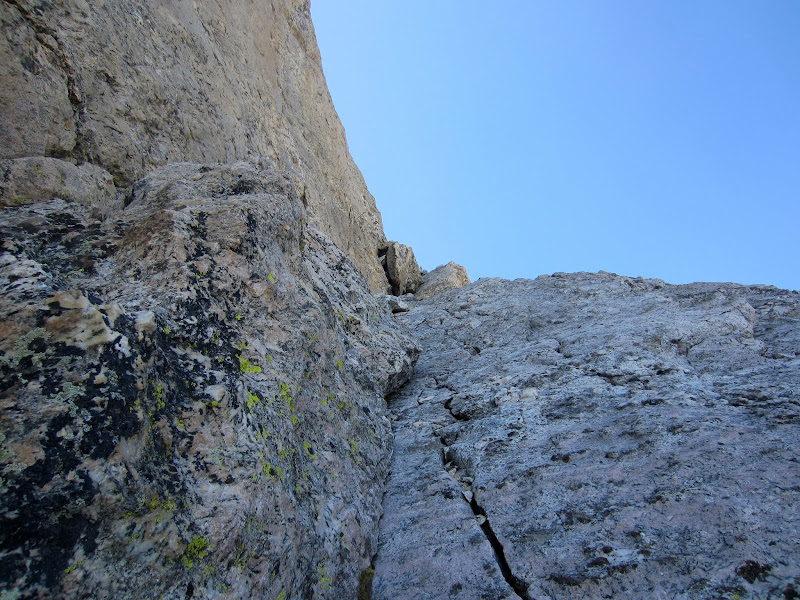
Visit on ggpht.com
Second Ledge belay.
I belayed Steph up, and upon reaching me she was shivering pretty badly, but she was quite the trooper! Without missing a beat she continued up to a slightly better corner to recover and began unpacking her backpack. Out came the sleeping bag and the stove. As Steph warmed water to recover, I suggested that in light of the conditions and how cold she was, that perhaps we should take the early exit from the Second Ledge to the Upper Saddle to get our climb over with. Steph would have none of this, though.
"We've come this far up the climb and we can warm up here. I don't see any reason why we can't finish what we've started," she replied. Talk about a positive attitude!
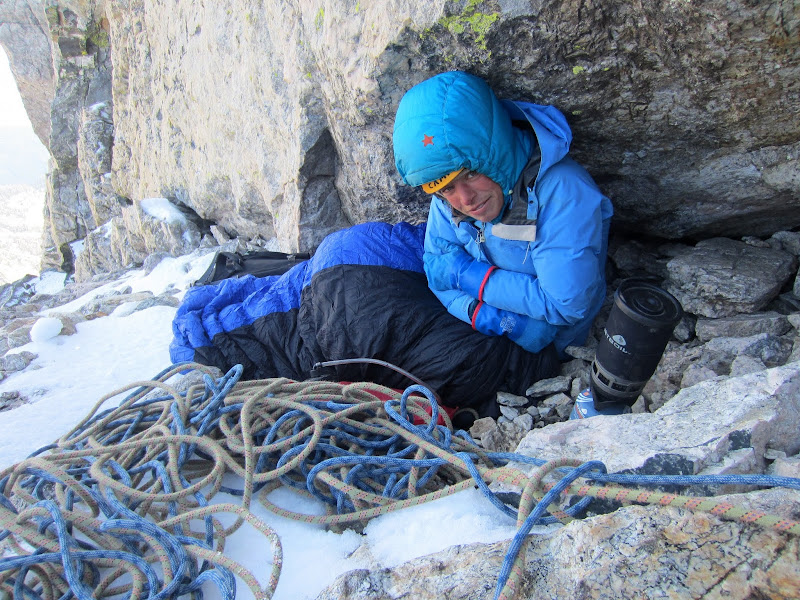
Visit on ggpht.com
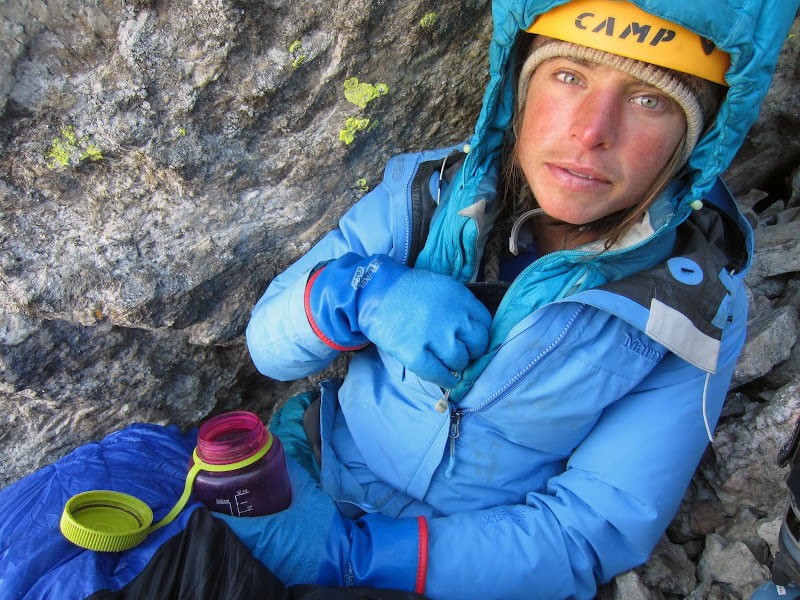
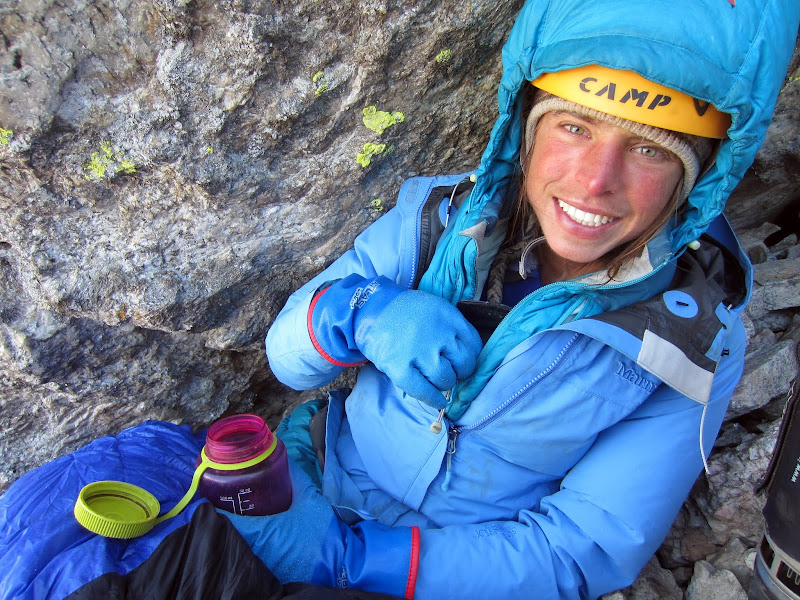
Steph Brewing up on the second ledge.
Visit on ggpht.com
Steph pre-hot drink.
Visit on ggpht.com
Steph post-hot drink.
Visit on ggpht.com
Drinking hot water on the Second Ledge. (by Steph Abegg)
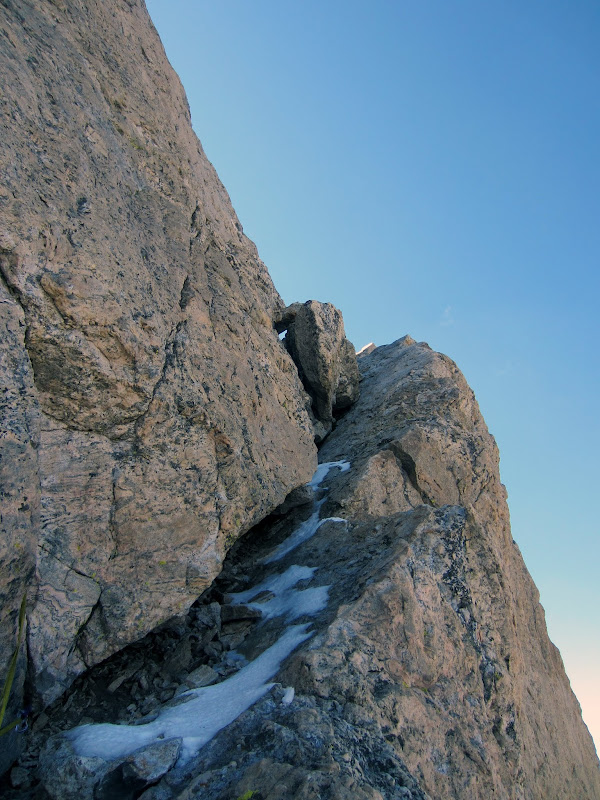
Warmed up and recharged, we moved the belay around the corner to start the final pitches of the North Ridge.
Visit on ggpht.com
Our brief P8 to move the belay around the corner on the Second Ledge.
Visit on ggpht.com
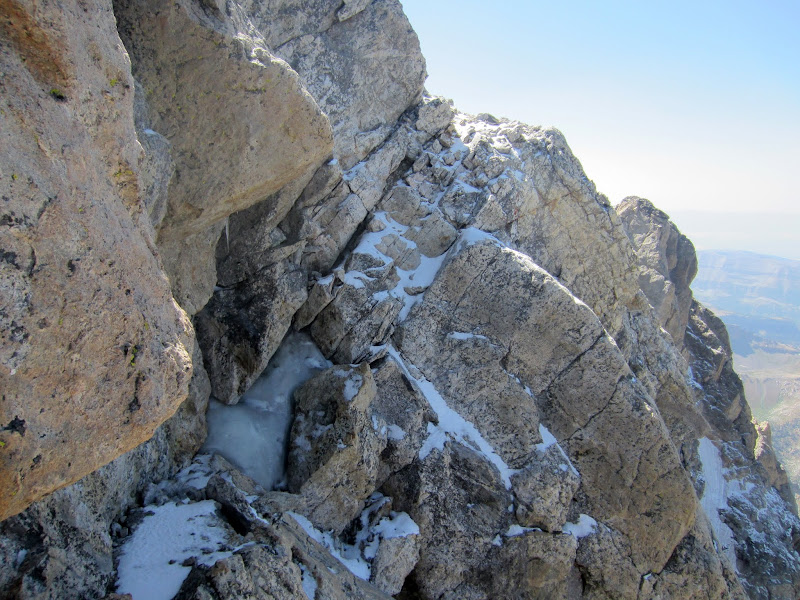
Second Ledge escape across the Great Chimney to the Upper Saddle.
The Ortenburger topo showed one pitch of face climbing and two more of 5.7 chimney climbing to finish the route. The Gam guide indicated to link the face pitch with the first chimney pitch.
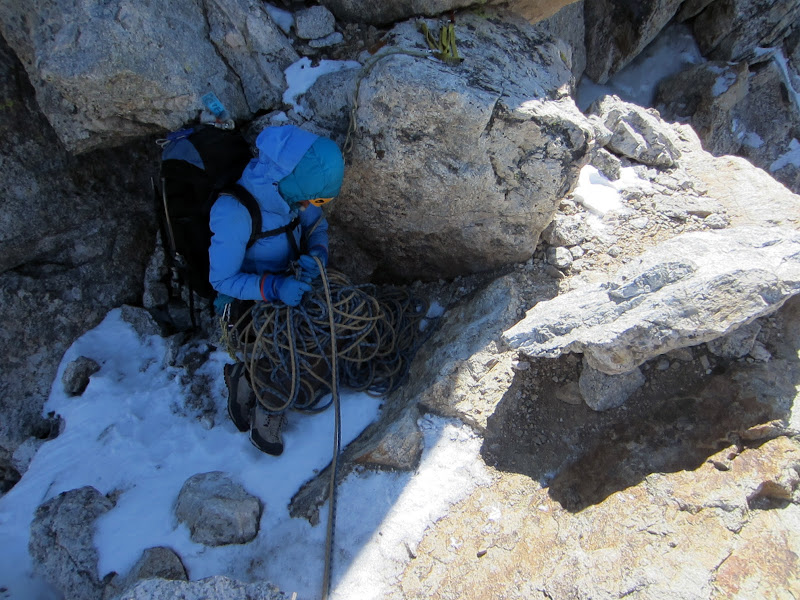
Visit on ggpht.com
Steph in the warmer (windless) belay. The wind blowing from the west actually made it colder in the sunshine! Fortunately the remaining pitches had us in chimneys, somewhat shielded from the wind.
The face climbing was pretty blocky, and there was no ice on it for a change. It felt much more easygoing and secure than the lower 5.7 face pitch on the Italian Cracks variation. I felt plenty fresh at the end to continue up the chimney. The climbing was finally getting back into Type I fun territory.
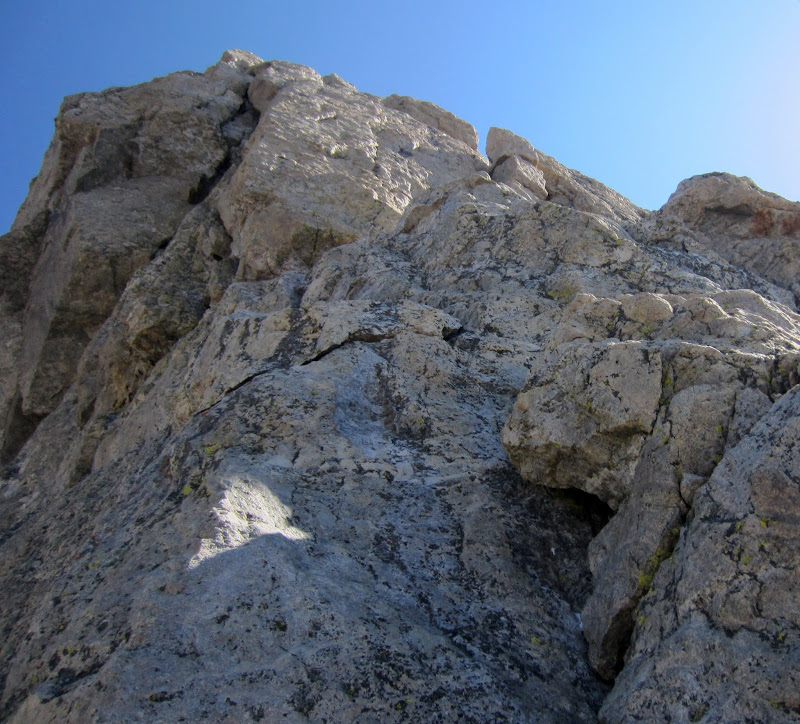
Visit on ggpht.com
P9 face climbing to reach the double chimneys.
The first sect of chimneys were pretty interesting as they are double chimneys formed by a giant detached column of rock. Our beta indicated that the right chimney was easier, so I opted for that one. It was a fun and interesting pitch, and fortunately climbing with a pack didn't make it much more difficult.
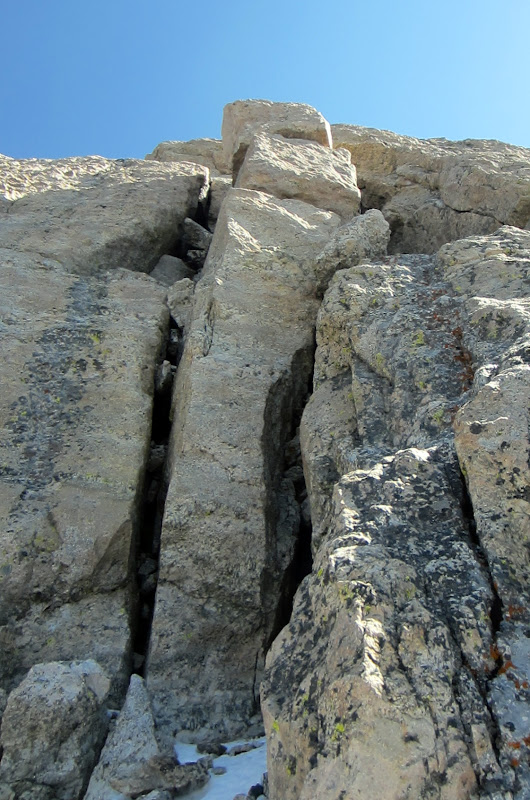
Visit on ggpht.com
Our P9 double chimneys. Apparently the right side is easier. I'd call it about 5.6.
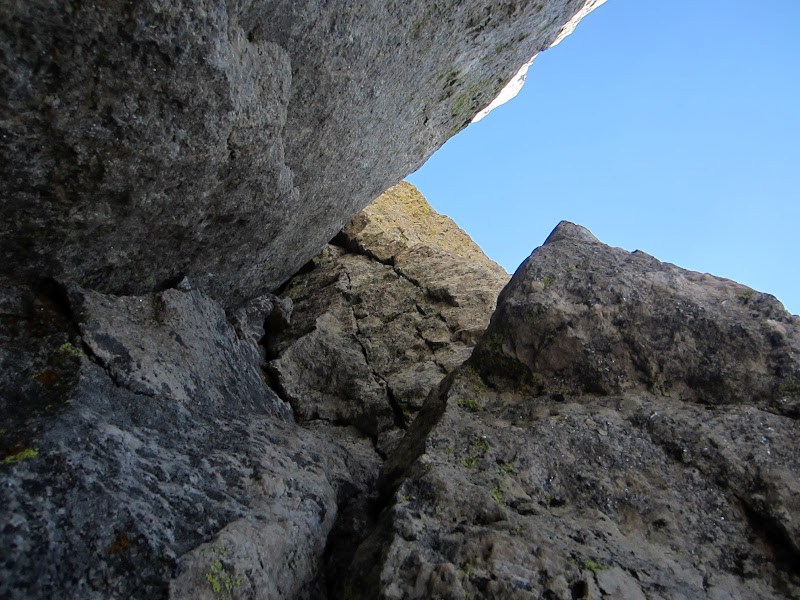
Visit on ggpht.com
Right side chimney. Whee!
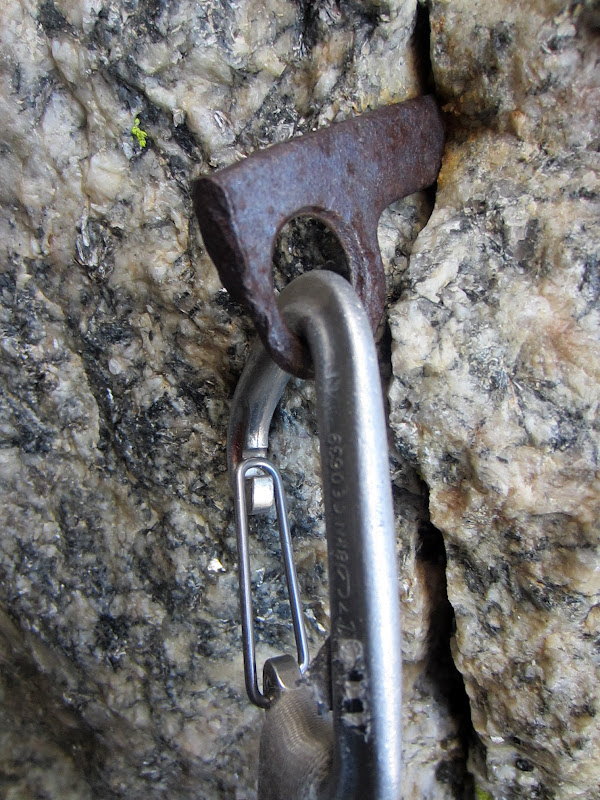
Visit on ggpht.com
Piton in the right chimney.
I surmounted a chockstone and made a belay in the sun. I was still in a low angle chimney, so I was even shielded from the wind. For once things were getting comfortable.

Visit on ggpht.com
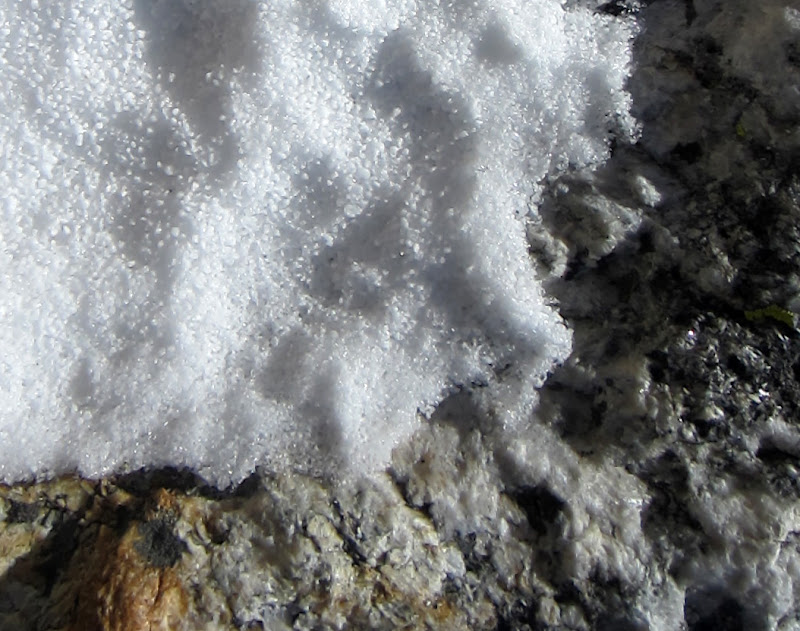
Ice at the chimney belay.
Visit on ggpht.com
Hail turned to snow or ice.
Visit on ggpht.com
Steph following the right chimney. (by Steph Abegg)
Visit on ggpht.com
Steph following the right chimney. (by Steph Abegg)
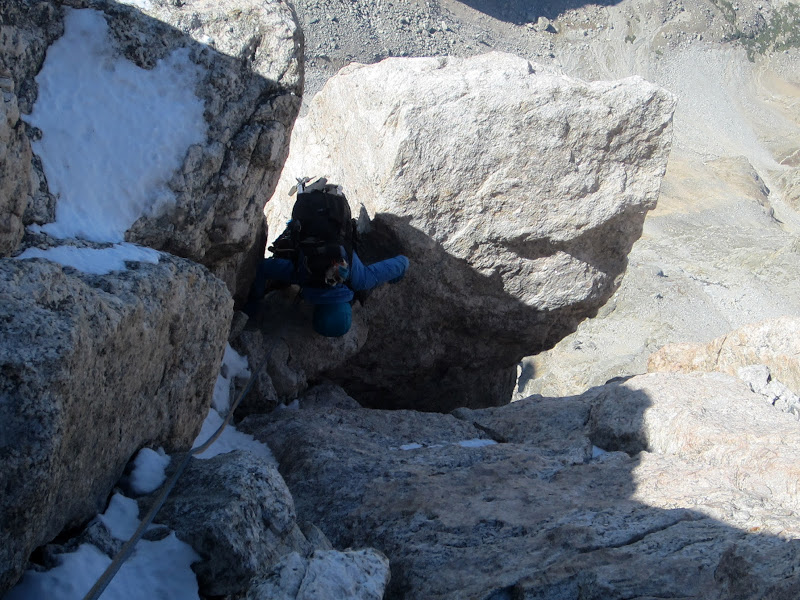
Visit on ggpht.com
Steph doing the ChiChoMaMa (Chimney Chockstone Mantel Maneuver).
Steph made it up to me in no time, and I casually remarked that that pitch was pretty fun and that perhaps we were through the tough and unpleasant parts of the climb. I spoke too soon as the last pitch had some nasty surprises for us.
Visit on ggpht.com
Starting the final pitch (our P10). (by Steph Abegg)
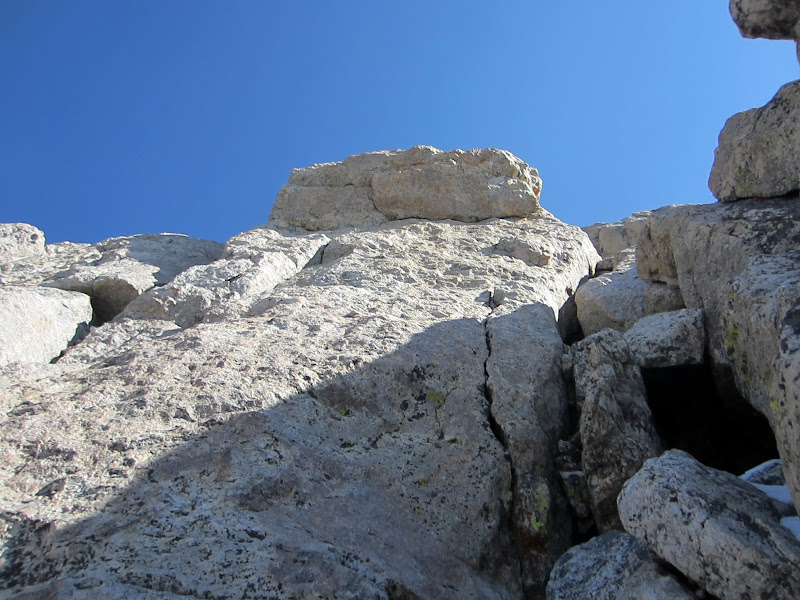
Visit on ggpht.com
More chimneys.

Visit on ggpht.com
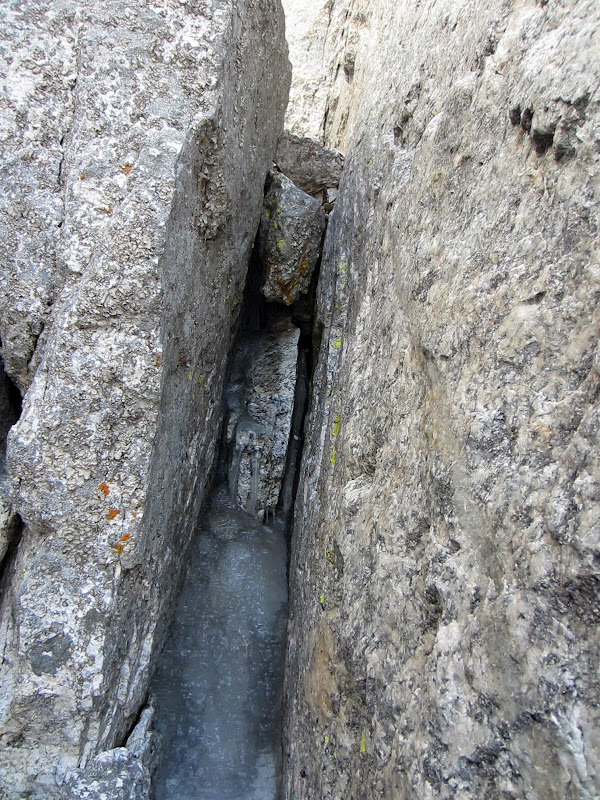
The evil squeeze, as the chimneys get icier. After 2 slips & retreats and a third attempt where I realized I would likely take a bad fall exiting the chimney onto a sloping, icy slab above, I had to ditch my pack here and haul it with Steph's help in the end.
The chimneys became more choked with ice again, and then I encountered a squeeze chimney. I could tell it would be a straightforwrad 5.6-5.7 chimney if I could face right-side in, but with a pack there was no way I was going to fit that way, so I climbed it facing straight it. I made decent progress with shoulder jams and standing up off of crossed legs, levered off the wall. There was a chockstone inside, but no other pro, and facing straight in I couldn't get in deep enough to reach the chockstone. Also, the chimney was lined in flaky, dead lichen.
I made it halfway up the chimney when the puffy jacket I was wearing tore open, shrinking my shoulder jams enough that I fell back down, shearing off lichen as it ground up the jacket. I took off the puffy to reattempt the chimney in my sturdier and grippier soft shell jacket. I made it about halfway up again and had trouble getting enough leverage with my crossed legs and I slipped down again. So I went up a third time, all out, as falling inside the chimney was a safe, slow-motion oozing anyways.
This time I made to the top, but there was no pro in sight. Waiting for me was a sloping slab covered in ice, and it would be very awkward to climb onto it. If I slipped, I would fly off the ledge and take a real fall this time onto the ledge below. Due to the awkwardness of the exit, I decided trailing the pack would be a bad idea as well. Regrettably, I downclimbed and left my pack clipped to my last piece of pro, hoping that I could make a belay atop the next chimney and haul the pack up once Steph reached it.
Visit on ggpht.com
Our P10 icy squeeze chimney, lined with lots of loose, sharp, dead lichen.
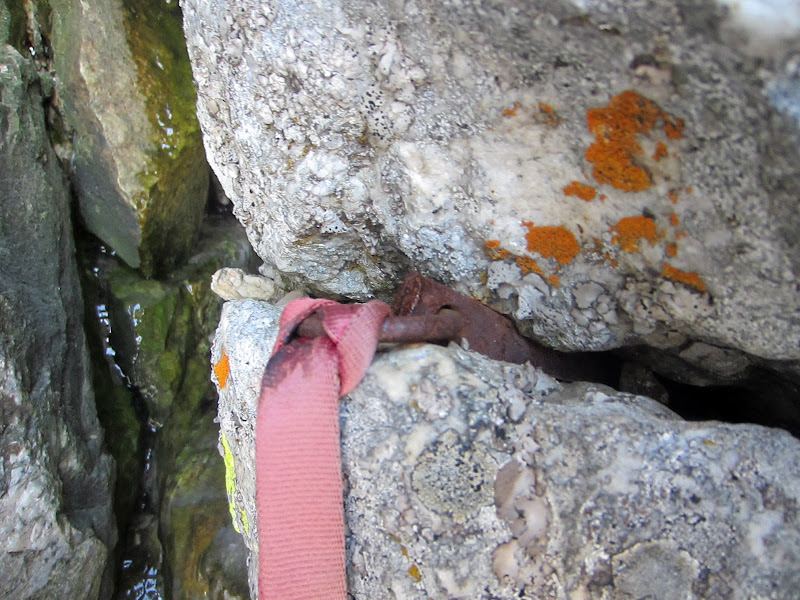
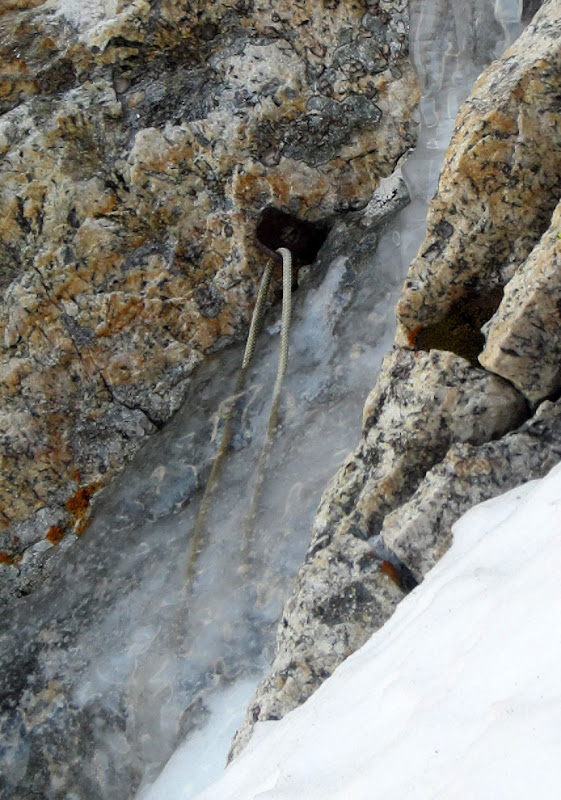
This time, facing right side in, the chimney was pretty casual apart from the slippery lichen and ice. Also, this time I could climb in deep enough to place a cam in the chockstone at the top to protect the exit. I carefully exited onto the sloping icy slab and gingerly stepped across to the other side.
Visit on ggpht.com
Icy & rusty chimney piton.
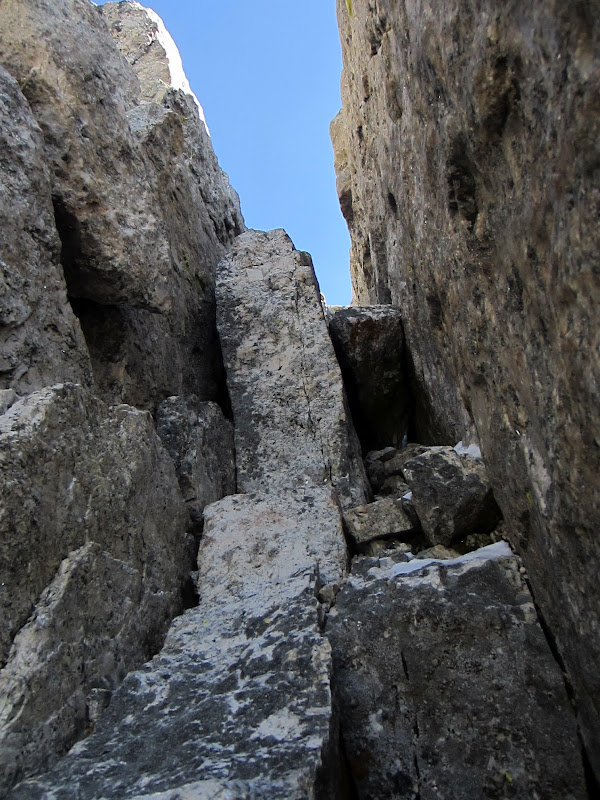
None of this terrain had much of any gear to make a decent hauling anchor, so I decided to just get the pitch over with and figure things out with my pack and Steph once she reached it. The remaining chimneys were straightforward and soon I was back out in the sunshine.
Visit on ggpht.com
Our P10 icy piton across the sloped, icy slab.
Visit on ggpht.com
Upper chimney on the last pitch of the North Ridge.
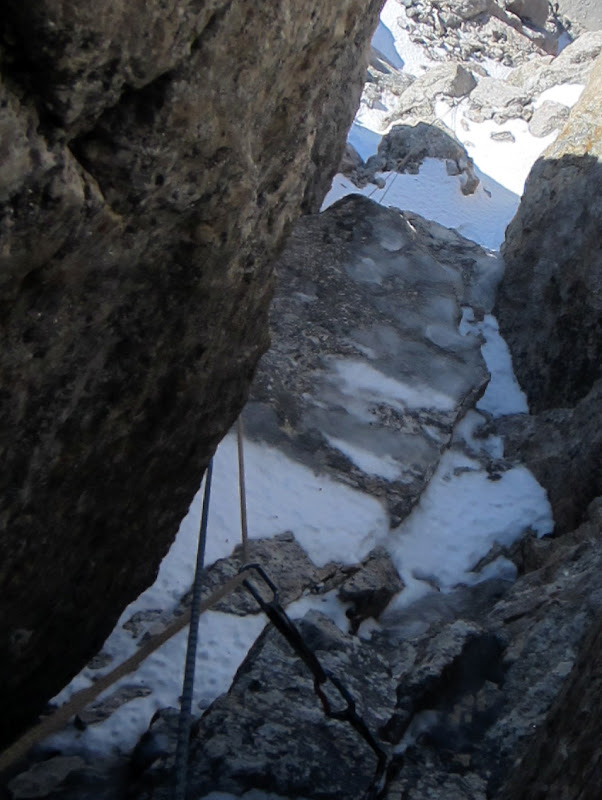
Visit on ggpht.com
Looking down the upper chimney onto the icy slab exit and the rest of our P10.
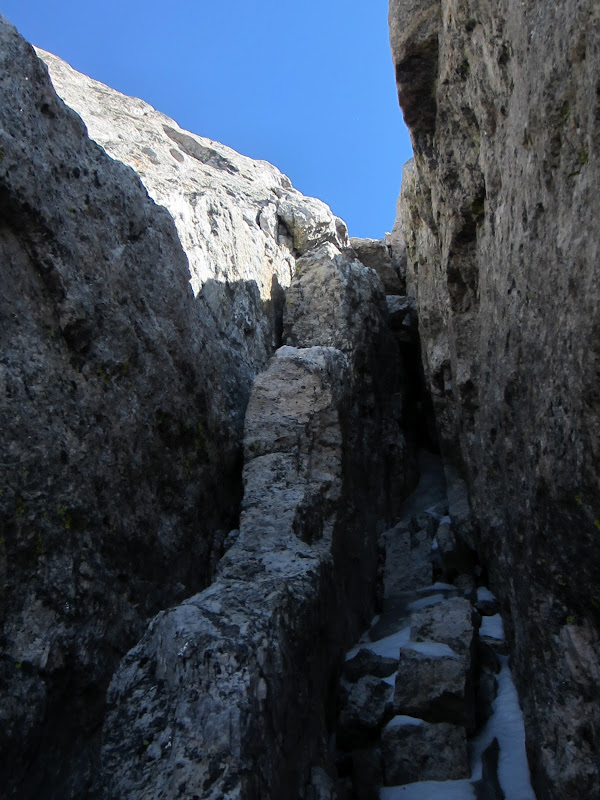
Visit on ggpht.com
Upper chimney on the last pitch of the North Ridge.
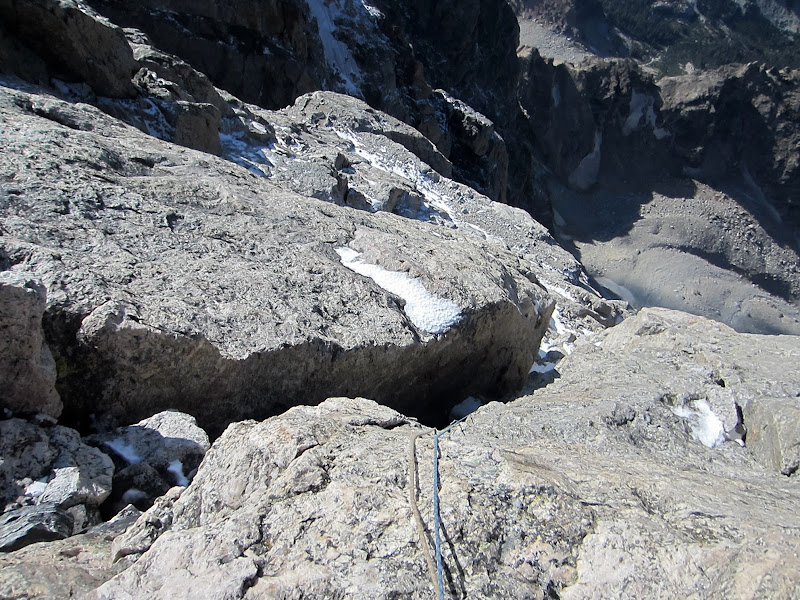
Visit on ggpht.com
Looking down from the top of the North Ridge route!
I set up the belay such that I could see Steph as she reached my pack. Through the gusts of wind I shouted out what I was up to. From here on she would climb on one rope with her pack, while I hauled my pack on the other rope. She was dismayed at this arrangement as I couldn't haul her pack and this as a lot more work for her, but fortunately she was understanding enough of my predicament. I belayed Steph on guide mode as she climbed and assisted my pack up on the other line - it got stuck a lot on the many roofs formed by blocks in the chimneys.
Visit on ggpht.com
More alpine pack hauling. Steph assisted on belay. (by Steph Abegg)
At last my pack was free, and more importantly, Steph was free! She stemmed up out of the icebox and into the sunshine, swinging leads above me to get to a spot where we could unrope.
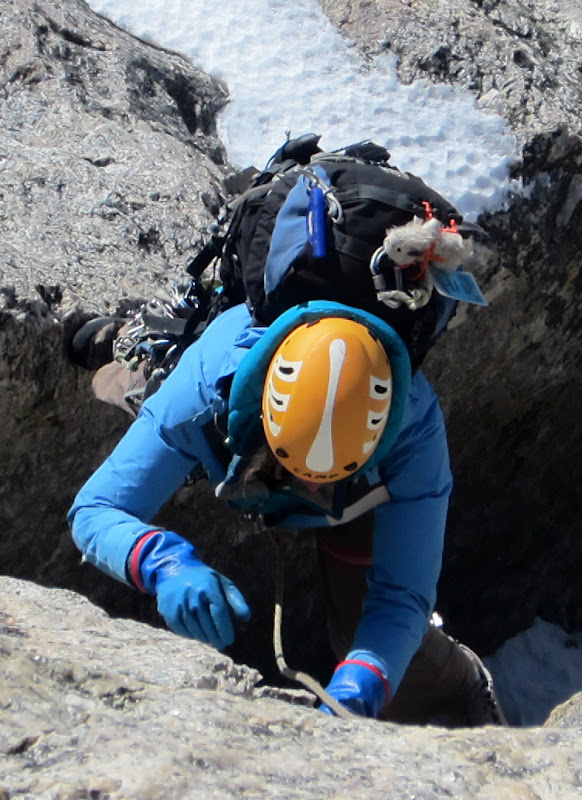
Visit on ggpht.com
Steph & Teton Bill escaping the icy chimneys.

Visit on ggpht.com
Final scramble to the summit, with occasional class 4 bits.
Visit on ggpht.com
Blaaarg. (by Steph Abegg)
As the terrain still looked a little tough above and we were tired, continued on roped up with the idea that we would simul climb the rest of the way to the summit. I couldn't find a direct way to the summit as the final 10 ft seemed to be a rather steep bouldering problem with bad fall potential. I investigated around the south side and found a couple more false leads. Ultimately I just circumvented the summit and came up from the south via the same route taken from the Exum Ridge. We collapsed on the summit and enjoyed our success in the carryover.
Visit on ggpht.com
Summit at last. Even Teton Bill is tired. (by Steph Abegg)
Visit on ggpht.com
Chimneys and puffies don't mix - Case Study #1 (by Steph Abegg)
Visit on ggpht.com
Chimneys and puffies don't mix - Case Study #2 (by Steph Abegg)
It was nice to have made the summit, as we could scarcely see a thing when we climbed the Exum Ridge a few days ago. Now we had an excellent panorama. Still, despite the sun, the wind was howling and it felt far colder today than when we were up here in the swirling mist and intermittent rain. We were determined to enjoy our summit though, so we bundled up and relaxed, heading down just in time to make camp at the Lower Saddle before sunset.

Visit on googleusercontent.com
Views South from the summit.
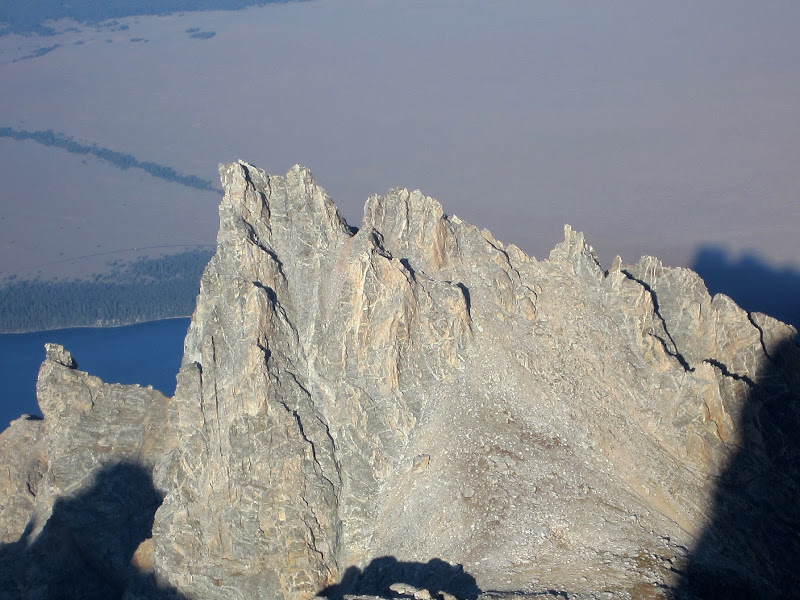
Visit on ggpht.com
Teewinot from the summit.
Visit on ggpht.com
Making the second rappel. It was sunnier this time, but we felt much colder! (by Steph Abegg)
Visit on ggpht.com
Descending from the Upper Saddle. (by Steph Abegg)
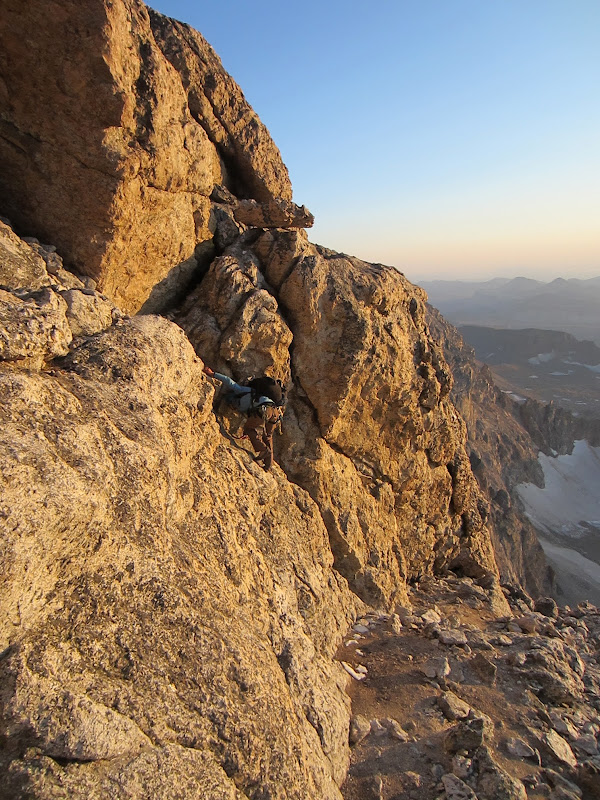
Visit on ggpht.com
Steph downclimbing the class 4 crux on the descent.
I couldn't decide which route annotations I liked best, so I tried a bunch of variations. In case some of these are more helpful, here are the rest:

Visit on googleusercontent.com
Grand Teton N Face & Ridge seen from the approach to Serendipity Arete.

Visit on googleusercontent.com
Grand Teton from P3 of Serendipity Arete.
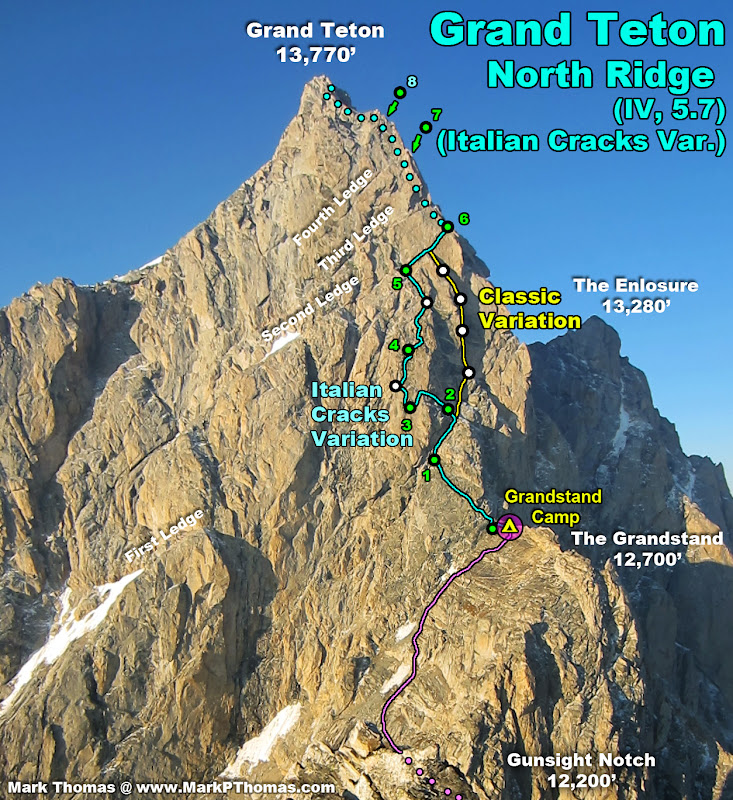
Visit on googleusercontent.com
Grand Teton N Face in the morning from the S ridge of Mt Owen.
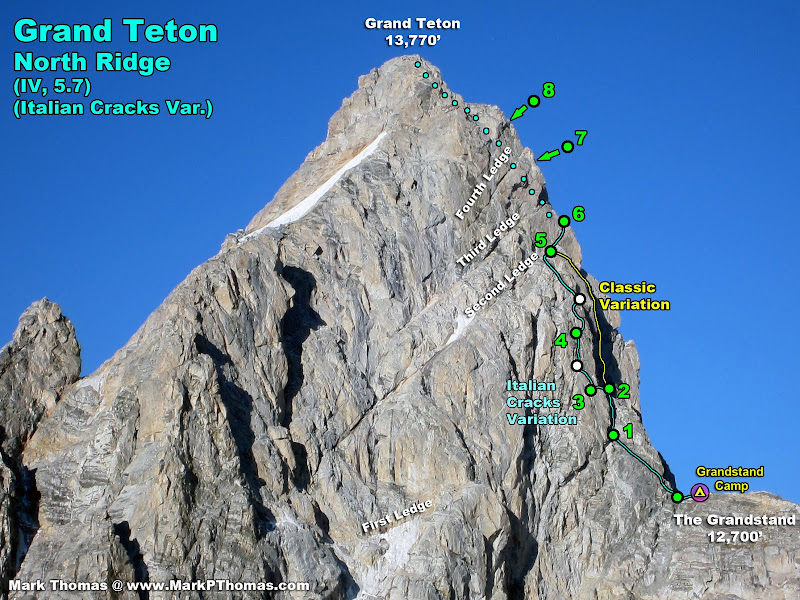
Visit on googleusercontent.com
Grand Teton N Face and N Ridge from Teewinot camp.
Links
Personal Website
Picasa Photo Album
Day 1: Garnet Canyon Approach and the North Ridge of Middle Teton (II, 5.6)
Day 2: Complete Exum Ridge of the Grand Teton (III, 5.7)
Day 3: The Valhalla Traverse (II, cl. 3-4, steep ice/snow, rockfall & icefall hazard)(Carryover Day 1)
Day 4: Serendipity Arete of Mt Owen (IV, 5.9, 15P)(Carryover Day 2)
Day 5: Owen-Grandstand Traverse (II, 5.7, 3-5 rappels)(Carryover Day 3)
-
Day 7: Black Dike Traverse (II, cl. 3-4, moderate snow) and the Southwest Couloir of Mt Teewinot (II, cl. 4)(Carryout Day 1)
Day 8: Mt Teewinot via the Southwest Couloir (II, cl. 4) and East Face Descent (II, cl. 4)(Carryout Day 2)
Day 9: Southwest Ridge of Symmetry Spire (II, 5.7)
