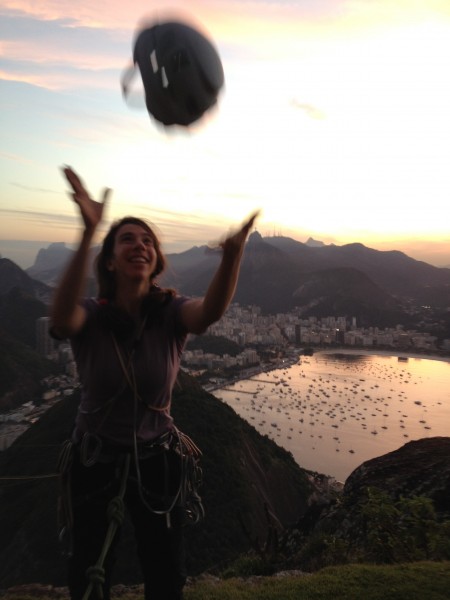
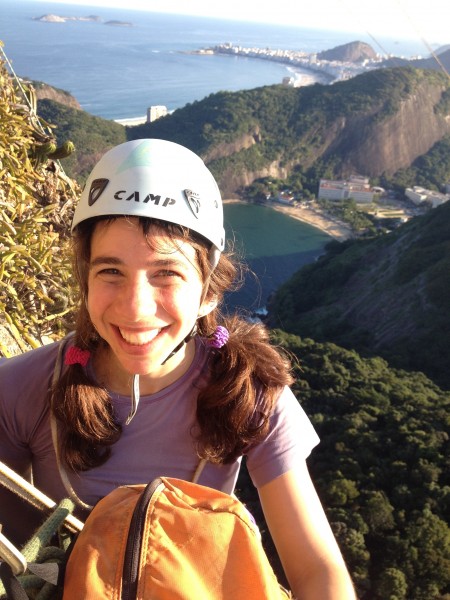
After a long winter exercising our fingers on keyboards, my husband and I decided to skip the ceremonies and spend grad school graduation week emerging from academic hibernation amidst the rocks of Rio de Janeiro, Brazil. Johan was already down there for a conference, so with one of our flights already paid for, it seemed like a no-brainer to plan an adventure exploring the cultural and natural beauty around Rio. Plus, who needs caps and gowns, when you can have cams and granite! We took this trip May 2013, but better posted late than never!
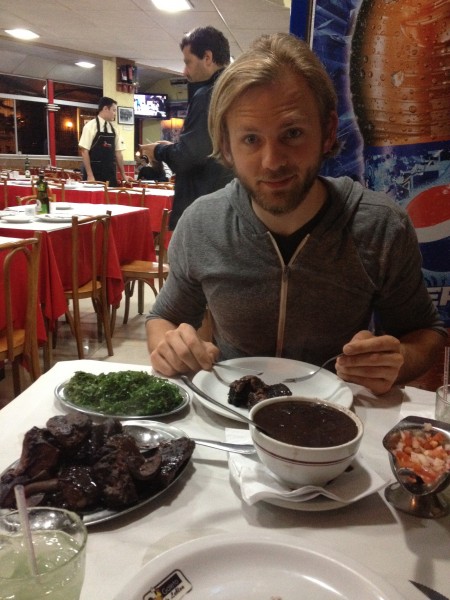
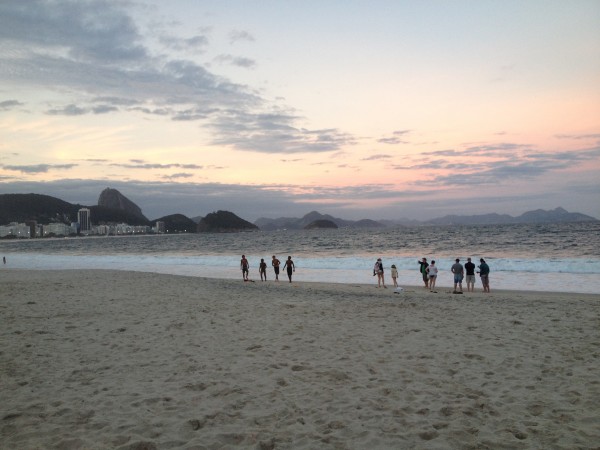
Rio is wonderfully unique for its urban accessible multi-pitch climbing. You can sleep in until mid-morning, saunter through the city to a granite spire rising from the sea, climb 10 pitches into the sunset, unwind with beachside caipirinhas, and indulge your evening away with churrasco (Brazilian barbeque) and samba.
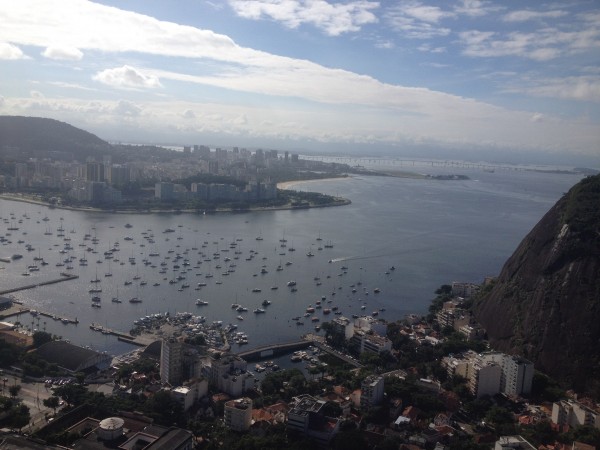
The city itself is stretched out along the Atlantic coast, winding around dramatic granite domes and spilling down from the densely, lushly forested mountainsides above.
The majority of the climbing is centered in Urca, landmarked by the dramatic Pao de Acucar (Sugarloaf mountain). For walking proximity, we chose to stay in Botafogo, an old and bustling neighborhood with lots of streetside food stands and cheap hostels. To future travelers, we’d recommend the Vila Carioca hostel, tucked away on a quiet tree-lined street with clean little rooms and friendly folk.
There are a few climbing guides that you can pick up at the newsstand in Urca, across from the Pao de Acucar cable station. They’re primarily in Portuguese but with solid route descriptions and photos to help you orient. Look for “Urca” for Urca area-climbing and “Floresta da Tijuca” for Corcavado-area routes, both by Flavio Daflon and Delson de Queiroz. The stand had run out of “Foresta da Tijuca” when we visited, but we managed with resources cobbled together online. You might also look for “Guia de Escaladas da Zona Sul” by Andre Ilha and Kika Bradford (in both Portuguese and English) for urban crag-routes spread southward along the coast from Urca. A word of warning if you go hunting for these crags: we spent the better part of a day trying to access the routes at Morro do Catagalo. There’s a tall iron gate that blocks the approach, a trail hewn into the dome. It was locked when we were there and adorned with forbidding signage, and the gatekeeper remains a mystery to us. A lot of these crags are surrounded by urban development, and up to date approach beta is hard to find.
Now, for the climbing!
Morro da Babilonia: Luiz Arnaud
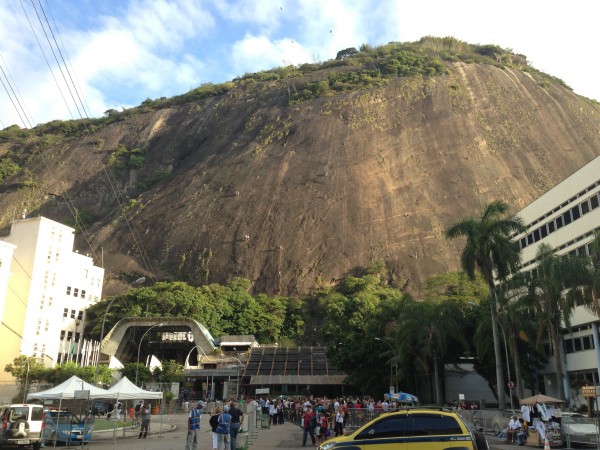
We found a solid and fun intro to Rio climbing at the Morro da Babilonia, a popular Urca-area dome just behind the tram station.
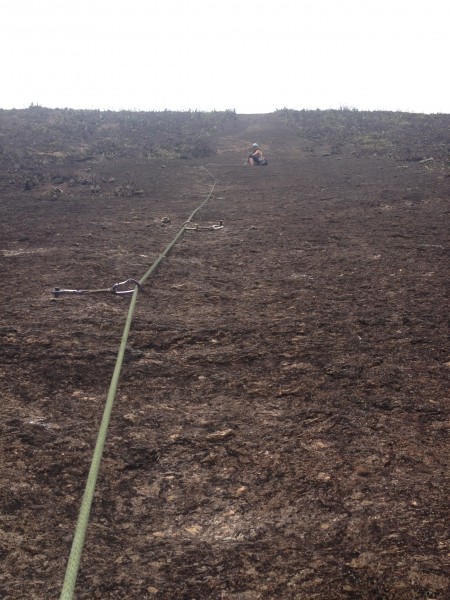
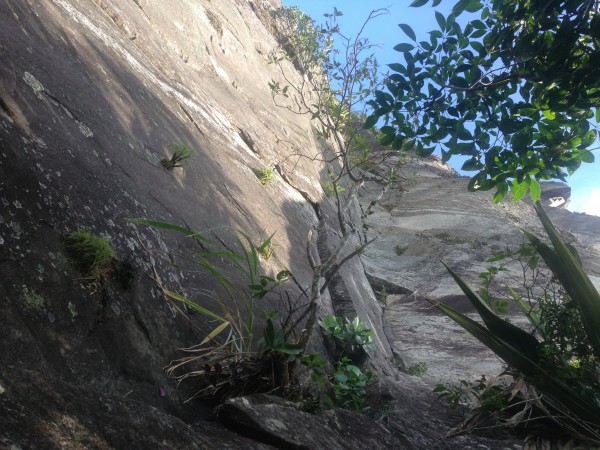
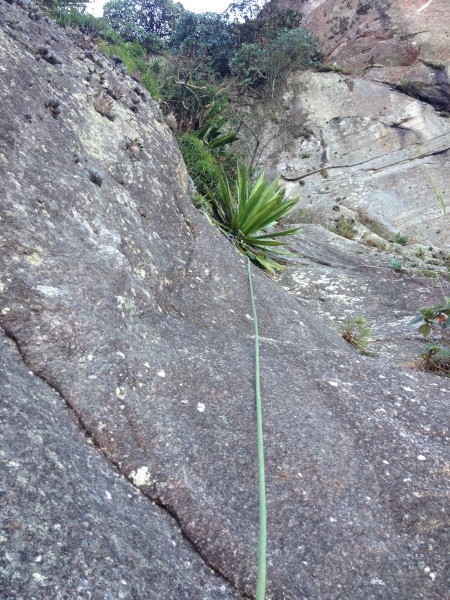
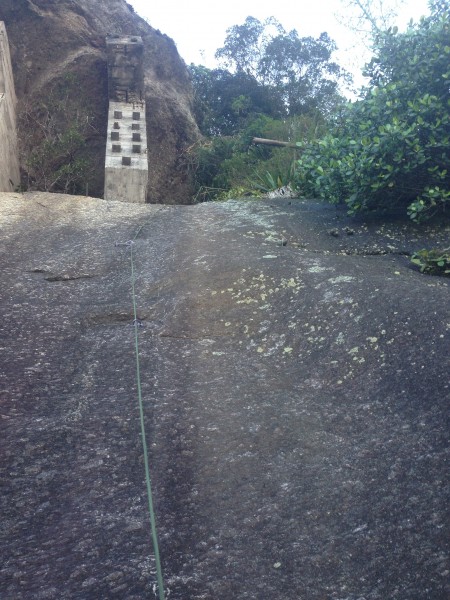
The climbing is on slabby granite, sparsely bolted with considerable run-outs (as we found to be characteristic of Rio climbing in general) and very fingery. We were wearing downturned sport-climbing shoes, which turned out to be an achingly bad decision. You’re all on your feet all day!
To access, head to the Urca tram station. Just to the left of the main entrance, you’ll find a guarded gate where you leave a photo ID and contact info. Passing through, you’ll reach a trail through the jungle that winds quickly up to the base of the routes. We had a lot of fun on the six-pitch route “Luiz Arnaud,” rated IVsup (5.8) - a gentle welcome to Rio slab.
Pao da Acucar: Via dos Italianos
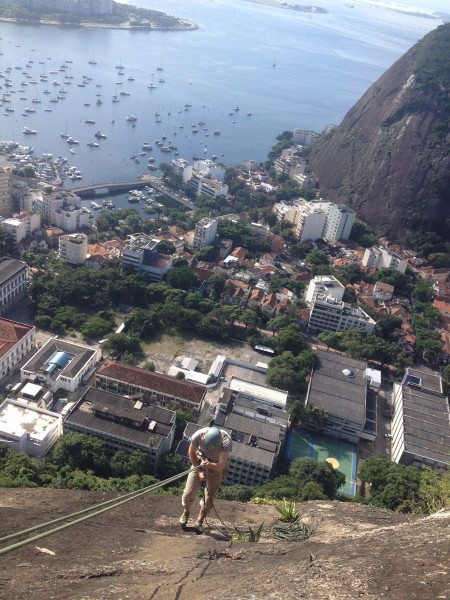
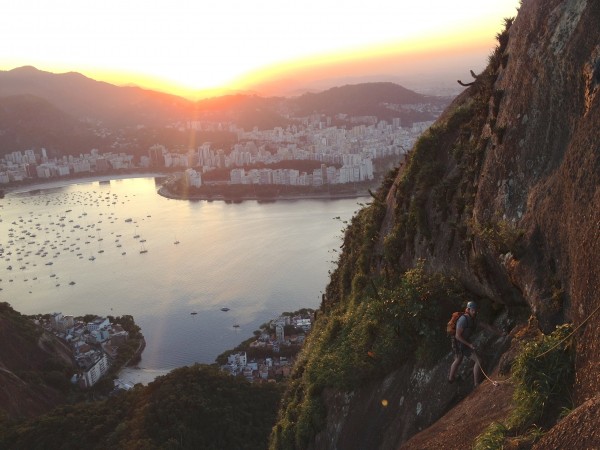
The route “Via dos Italianos” on Pao da Acucar is arguably the most classic of the classic Rio routes. This beautiful 9-pitch, 700-foot tall sport-route meanders up the west face of the great Pao da Acucar. Known in English as the Sugarloaf, the Pao is a granite and quartz spired dome that marks the Rio coastline in dramatic fashion. There’s a beautiful municipal park that wanders through the jungle at its base, where you can access some fierce little boulder problems and hidden rocky beaches. The city has constructed two cable car trams that haul daily masses of tourists first to the shorter Morro da Urca and finally up to the summit of the Pao. Expect company at the top, especially around sunset! For several pitches of the Via dos Italianos, the cable car passes overhead, and you can just make out the outlines of tourists in the tram, staring down at the human spiders (you!) clinging to the face of the Pao.
To access, head to Urca and find your way to the paved park trail at the base of the Morro da Urca. In 350 metres or so, you’ll see a steep dirt path that heads up to the saddle between the two domes, each with a tram station on top. The start of the trail was desperately slippery from the previous days’ rain, but we managed to slip and slide our way through the mud, clinging at protruding roots. When you reach the saddle, head right and follow the trail straight to the base of the Pao. You’ll know when you get there! (Promise! Not the case for Corcovado, see below.)
The first pitch starts up a crack system, just to the left and below a few pedestals at the base. (A much stiffer start to the right up on the pedestal clocks in at VIIc, ~5.11c). From the crack, break right on to the face at bolts and you’re on your way. The climbing is fairly straightforward, if technical and fingery. One thing to be aware of: Rio sport is predominantly bolted using old-school, very sketchy-looking, often rusty P-bolts. It took us a couple pitches to get comfortable on them, but they seemed solid, for what it’s worth! We didn’t take great notes on this climb, but I do remember a few sections of sparse, heady runout. The crux moves are at the top of pitch one, where you’ll haul yourself on little fingers over a bulge. If you make it through that ok, you should have no problem. In general, be cognisant of the anchor stations that you select. You’ll often have a choice of how to pitch things out between stations, and depending on the stations you pick, you might face a stiff, run-out sequence right off the anchor.
At the top of pitch three, you’ll move left through a soft ramp to access “Via Secunda”, the continuation of Via dos Italianos that will take you to the top. Here you could previously access a via ferrata, breaking right for an easy route to the top. The start of the via ferrata was still accessible when we were there, but not long ago the cable broke, which sent a local Rio climber falling to his death. We were actually warned about the via ferrata by his former climbing partner, who we met while climbing the previous day on Luiz Arnaud on Morro da Babilionia. She was boldly back on rock for the first time since she was rescued off the via ferrata the year prior, celebrating the spirit of her friend by re-embracing their shared love for climbing. Be sure that you don’t get off route at this juncture, and plan to take Via Secunda to the summit unless you have very up to date information about the condition of the via ferrata.
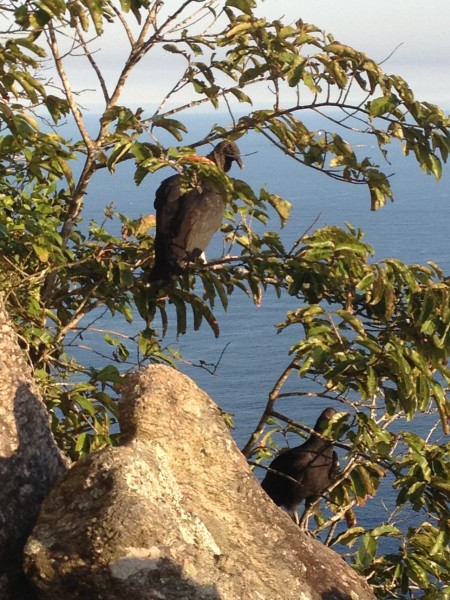
Pitches 4 and 5 (which leads to Via Secunda) are easy. Though not much more difficult, pitch 6 combines techy climbing with very sparse bolting (averaging 15 feet between P-bolts). This climbing rivals the sparsest of Tuolumne run-outs. Keep thoughts of cheese-grating down the Pao out of your mind and know that it’s much easier than pitch 1 by this point. At pitch 7, you’ll face two optional finishes. We moved right through a clump of trees, where we got to chill with some giant birds at our anchor!
Pitch 9 follows a (for us, seeping) bolted dihedral straight up, then a traverse right to a bushy belay puts you just below the tram station. Scramble from here to the summit!
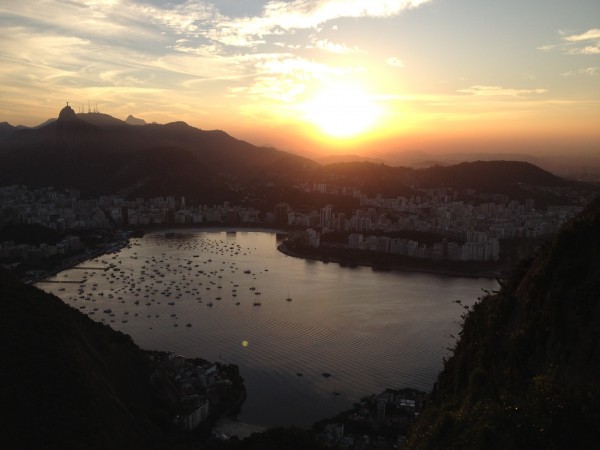
We climbed to the top into the setting sun, and watched color splash across the mesmerizing landscape, where the mountains meet the sea. So beautiful. After reveling in the vistas, you can take the top cable car down to the Morro for free, then pick your way back to the trail to its base to avoid the second cable car fare. This process was a bit more confusing than we’d expected, but the regular cable car operators know what’s up and should let you into the top car without hassle.
All in all, an extraordinary day with fun (if heady) climbing and breathtaking views that will paint themselves in your memory for a long time to come!
Corcovado: K2
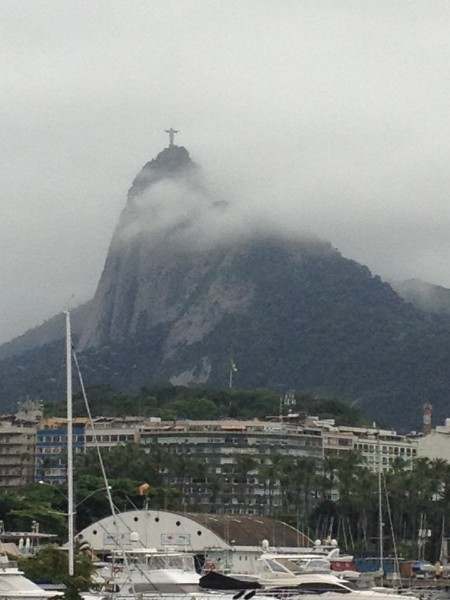
Corcovado is a 2300 foot-tall granite peak rising out of the Tijuca National Forest in central Rio. The mountain, which means “hunchback” in Portuguese, is adorned with perhaps the most iconic of all Rio sights - the 125-foot high statue of Cristo Redentor, or Christ the Redeemer. At night, the brightly lit statue glows from the mountaintop, visible from the farflung stretches of Rio, including from the top of Pao. While over 600,000 tourists reach the statute annually via cog train and bus, climbers can access it by way of the “K2” route, which climbs out of the jungle and deposits you, five pitches later, on the observation deck at Jesus’ feet. The climb goes at 5.9, though this includes plenty of softer pitches plus the typical heady, run-out slab sections.
We found good beta for this route particularly difficult to come by. We’re offering a bit more detail here in the hopes that it helps others avoid some of the pitfalls that we ran into!
Prep:
The route is P-bolted, though very sparsely. We brought about 10 quickdraws plus trad gear with runners to negotiate the run-outs. Pitches 1 and 3 in particular are very run-out without trad gear. We found it helpful to have a single set of .5 - 2” camalots as well as a set of nuts (we only ended up using a #9 nut, but they were comforting to have). A microcam (C3 #2) would have been helpful in one spot as well.
We found a 60m rope more than sufficient. Bring some single slings for extending bolts and a couple double lengths for slinging trees here and there, particularly on the final pitches.
Check the weather forecast carefully before you head to the mountain. You won't get a good view of the weather coming over Corcovado while your climb (it was slightly unclear to us which way it moves), and the climb is very exposed and very difficult to wrap off. Its several slab pitches would be intimidating to climb while wet.
Getting There:
We took a taxi from Urca up the road to Corcovado. At Paineiras, a stop at the the base of the road to Cristo, all private car and taxi traffic stops and bus-exclusive use begins. You might be able to buy a round-trip ticket from Lago do Machado, a neighborhood close to Corcovado, but we’re not sure if the driver would allow you to exit at the Paineiras stop in order to hike to the climbers trail, so it might be best not to risk this method. You might also be able to take the cog train up to the Paineiras stop, though we didn’t try it.
The crux of the whole day for us was passing the Paineiras guard station on foot to access the approach trail to K2. We arrived at the guard station at 7:40am, 20 minutes before shuttle buses start hauling tourists up the final 2km stretch to the Cristo. We tried to nonchalantly walk past the guard station and were stopped by an incensed park official, who informed us (somewhat suspiciously) that the mayor had just changed the law and that no foot-traffic would be permitted past Paineiras. Our suspicions about his mayor story were heightened when, after we pulled up on our iphone climbing forum discussions in Portuguese about K2, he told us that the mayor had ordered the change the day prior and that it would only be in effect for the day that we were there. When we told him we’d return the next day, he remarked that actually the rule would probably be in effect that day too. We even offered to buy a shuttle ticket to the top, but even that didn’t seem to appease him. Perhaps we threatened to open the floodgate of non-paying foot traffic. In any event, after a half-hour of struggled argument in mutually broken spanish and french (english and portuguese were not overlapping options), we finally won over the sympathies of the park police. They told us
wink wink to go ahead and “park our car” (we had none) on the road just passed the Paineiras station so that they could say we wouldn’t be entering the road on foot. With the angry grumbling of the park official rising in the background, we finally made our way on foot up the access road.
Lessons learned: Have handy a Portuguese-language discussion of the K2 route to show at the guard gate to legitimize your endeavor (cell reception at Paineiras is weak, so best to print or pull up in advance). K2 seems to get little climbing traffic these days, so the guards are not so accustomed to requests like ours as we thought they’d be. If they absolutely bar you from entering on foot, you could try paying for a shuttle to the top and heading back down the shuttle road on foot to the access trail. You might face less resistance from that end. In any case, expect some struggle and don’t be easily deterred if you encounter it!
Approach Trail:
Walk 15 minutes up the tram road past Paineiras. You’ll see the lightly tread dirt access trail on your left winding into the jungle at the end of the first guardrail, where the road makes its first hairpin turn to the right. Hop over the guardrail and follow the trail into the jungle along a cliff face to your right. Very near the end of this cliff face, you may spot the start of a bolted route that is not K2 but fits its common description. Lacking photos and good beta, we were convinced that this nice corner system was the first pitch. We actually climbed this sparsely bolted hands-to-fists crack to a reachy left move (same route description as K2!) and out onto rusty anchor bolts on a face above. Fortunately, we decided not to attempt our way up the chossy, barren wall beyond and rapped back down, eventually finding our way to the real start.
To reach the actual K2, be sure to follow the approach trail to its very, absolute end. Just beyond the false-start corner, the trail appears to cease at a point where the hillside opens up onto a massive vista of Rio. If you look closely, you’ll see that the trail actually drops down and sharply right, curling around a jungly arrete and out onto the steep face of Corcovado. Perhaps it’s better worn and easier to follow these days. You’ll know when you reach the start of Pitch 1. The false corner is only a few feet deep, while the corner system for the proper K2 P1 is expansive, angling up and left onto a huge face. The K2 crack is also fingers as opposed to hands/fists.
Pitch 1
I anchored myself to a small tree to belay Johan on P1 - a good idea, we thought, as you’re atop a 1000-foot cliff. Follow the obvious and fun corner, protecting with bolts and one or two cam placements along the way. To guard against rope drag, consider extending the last bolt of P1, which comes just before you exit the corner with a reachy move. Belay at 2 anchor bolts shortly after exiting the corner.
P1 would be be difficult to repel, as it angles left out over a 1000 ft void. It’s unclear if a 60/70m rope would be sufficient to rappel from the P1 anchor. You would likely end up rappelling off a single on-route P-bolt somewhere along the crack system.
Pitch 2
I took the lead on the second pitch, which might be the most techy and heady of the climb. The climbing is technical vertical-slab with a few quite reachy sections. It would make for a fine repel if that becomes an issue.
Off the anchor, traverse left for two bolts, then up. You’ll pass a 2 bolt-optional belay station as you leave the traverse. I’d recommend against belaying here, as you’ll need to work your way past thin, cruxy moves to the next bolts. Unless you want to face a potential factor-2 fall risk, keep going. After the fourth bolt or so after the traverse, you’ll pull over a bulge. Climb through a groove and look right to find a set of anchor bolts, which feels counterintuitive. There’s an old rusted bolt to the left. Though more obvious, it’s off route.
We belayed off of these double bolts. You could link P2 and P3 (by our pitching out of the route), but we felt like there would be quite a bit of rope drag for the balancy P3 slab sections and opted to divide it.
Pitch 3
Climb up and right to the obvious bolt. the climbing to the first bolt is easy enough but heady as it's run out and you're coming off an anchor - a fairly constant K2 theme. There’s a nice cam placement out right after the first bolt if you want it. Climb through easy moves to a bolt just before the ledge. Keep climbing to reach a sloping triangular belay with 2 bolts and 1 old rebar post below on a flat, vegetated ledge. It’s not big enough for a party, but it is roomy compared to the previous two belays. Pitch 3 would make for a messy rappel.
Pitch 4
Johan took the lead on this next pitch, which begins with a sweet little crack system that goes at about 5.7 by our reckoning. You’re looking at about 30 feet of crack-climbing with no bolts, but the crack protects very well with trad gear, including a solid #9 nut placement midway up. You won’t see any bolts from the belay aside from a few overgrown and rusted ones on the sheer face to the climbers’ rights, which are clearly marking a different (and seldom travelled) route. At the top of the crack system, a rebar post is visible from the belay.
From the crack system, continue up and left through a couple bolts. Continue traversing left to a bolt, then up to a long, wide ledge with an uprooted tree (very recently uprooted in May 2013), below a sheer slab with a series of bolts protecting P5. You’ll see reinforcements above you, holding up the Cristo platform, and may hear the faint echoes of tourist voices. This mellow traversing pitch would not be fun to rap!
Pitch 5
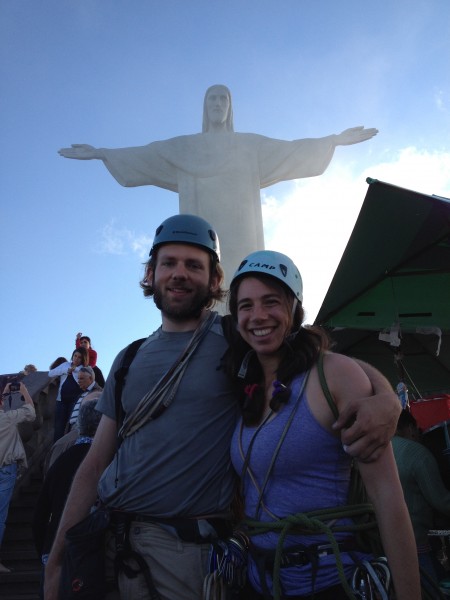
I led us up this short, final pitch, face-climbing the obvious slab up and then right into the jungle. There are positive little knobs for hands and feet along the way, making this pitch less techy than P2, and the bolts are not so badly spaced. Scramble up the trail and follow it out right through the jungle to Jesus! You’ll get to create quite the little spectacle as you triumphantly pull over a stone rail onto the Cristo platform right into the middle of a crowd of camera-laden, delightfully confused tourists. Have fun bewildering the mobs!
Descent
After snapping the requisite Cristo photos...
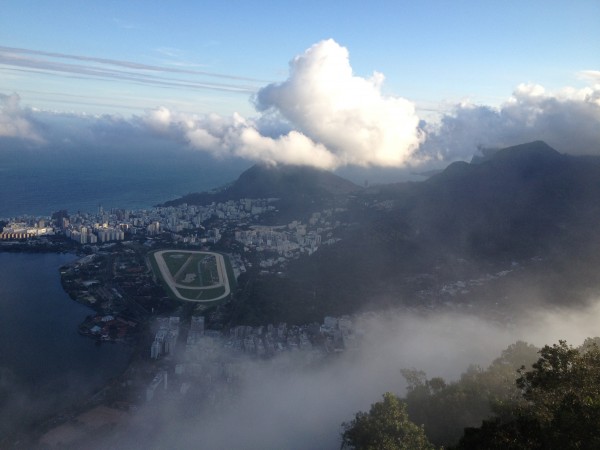
...and soaking up the dramatic vistas, we paid 17.64 Real each for a shuttle van to take us down to the Lago do Machado part of town. The van conveniently deposits its passengers right next to the neighborhood’s central metro station, just a couple stops from Botafogo.
Alternatively, you might be able to walk down the Corcovado road or hitch your way into a van to the Paineras stop at the entrance to the Corcovado road, though we didn’t try either. If you go for one of these options, be aware that getting back to town from Paineiras is tricky unless you’re up for a potentially sketchy 7km trek on foot. The only public transport we saw was a tram that occasionally runs to Paineiras from somewhere in town, though it was unclear to us if you can buy a ticket from the Corcovado stop, and finding a taxi at Paineiras seemed next to impossible.
All in All
K2 is definitely worth the trip if you’re willing to navigate the logistical difficulties and occasional sketchiness. It’s a super fun route with great exposure, amazing views, diverse climbing, and decent protection (given local norms) when coupled with a little bit of trad gear. There’s beautiful poetry to climbing out of the rich Tijuca jungle onto textured granite walls and emerging into one of the world’s most iconic sights. And then there’s the added bonus that along with the memories, you’ll take away lots of good puns about climbing into the arms of Cristo.
Have fun!
